The allure of a perfectly ripe cherry, with its glossy skin and vibrant hue, is undeniable. For artists, capturing this simple yet stunning fruit on paper presents a delightful challenge and a rewarding experience. Learning how to draw a cherry is not just about replicating an object; it's an exercise in understanding form, light, and texture, making it an excellent subject for artists of all levels. This comprehensive guide will walk you through the process, from the very first construction lines to a beautifully shaded, realistic cherry drawing, ensuring that by the end, you'll possess the skills to bring these luscious fruits to life on your canvas. Whether you're a complete beginner or looking to refine your techniques, this is the guide for you.
In this article, we will begin with a blank piece of paper and learn how to draw cherries in 6 illustrative steps, considering the shape and size of each of the drawn parts of the cherries. We'll show you how to draw, outline, and color your cherry drawings with markers or other preferred mediums. Instructions for drawing a cherry very simply, today drawing123.com will guide you how to draw cherry extremely simple and beautiful. Perfect for budding artists of all ages, this tutorial will guide you through creating a simple yet stunning piece. Do you want to know the easiest way to learn how to draw a cherry? Then this is the guide for you! I will show you how to make this cherry design in just a few steps, and by the end, you'll be confident in your abilities. Learning how to draw cherries is easy and fun, and with its vibrant shape and glossy detail, learning how to draw a cherry will help you capture its beauty on paper.
Table of Contents
- Why Draw Cherries? A Sweet Artistic Endeavor
- Essential Tools for Your Cherry Drawing Journey
- Understanding Cherry Anatomy: Shapes, Stems, and Highlights
- Step-by-Step Guide: How to Draw a Cherry
- Mastering Realism in Your Cherry Drawing
- Common Mistakes to Avoid in Cherry Drawing
- Creative Variations: Beyond the Basic Cherry Drawing
- Practice and Progression: Elevating Your Cherry Art
- Conclusion: Your Sweet Success in Cherry Drawing
Why Draw Cherries? A Sweet Artistic Endeavor
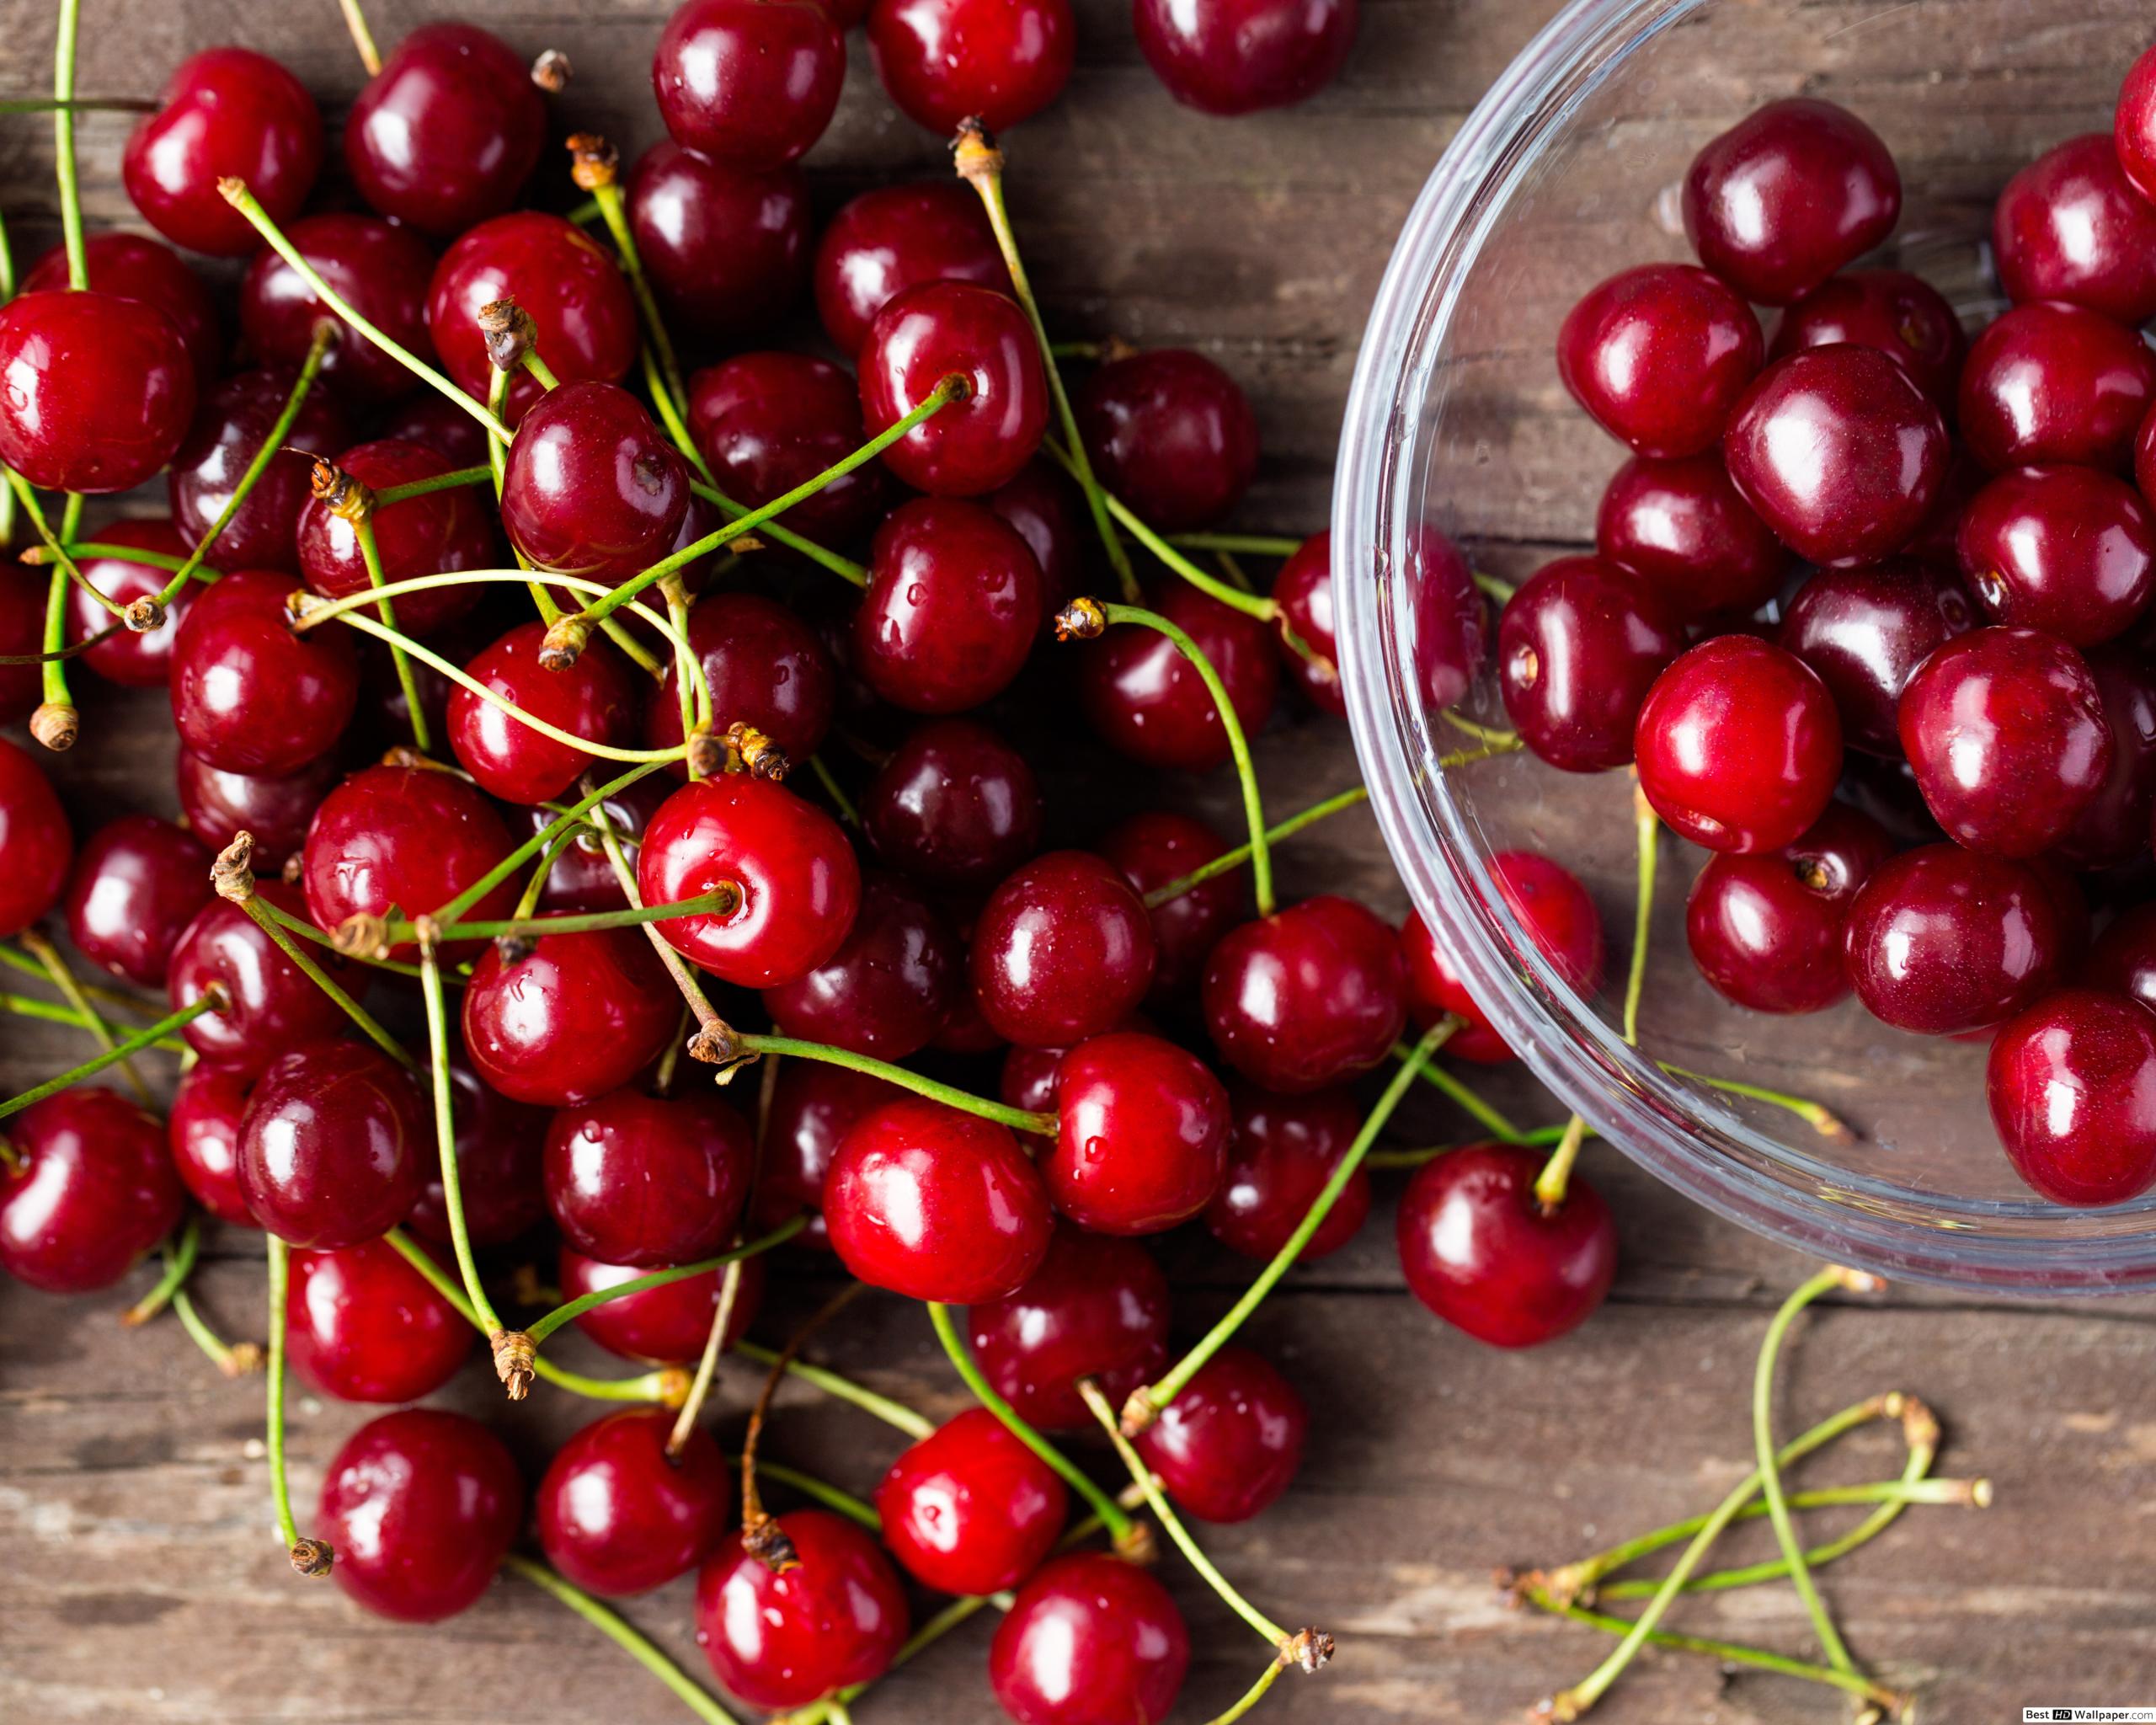
Cherries are more than just a delicious fruit; they are a fantastic subject for artistic exploration. Their simple, almost spherical shape makes them an ideal starting point for beginners to grasp fundamental concepts like form, volume, and shading. Yet, their subtle complexities – the dimple at the top, the delicate stem, the way light reflects off their glossy surface – offer endless opportunities for more advanced artists to delve into realism and detail. From plump and ripe Bing cherries to delicate and fragrant Rainier cherries, these fruits provide a diverse range of visual interest. A great looking cherry drawing can truly capture the essence of this beloved fruit.
- Nottingham Forest Players
- Vrg Grl
- Broder Bros Alphabroder
- Rickey Stokes News Rickey Stokes News
- Five Oaks Farm Kitchen
Beyond their aesthetic appeal, drawing cherries helps develop crucial artistic skills. It teaches you to observe closely, to translate three-dimensional objects onto a two-dimensional surface, and to understand how light interacts with different textures. This foundational knowledge is transferable to drawing countless other subjects, making the time spent on a cherry drawing a valuable investment in your artistic journey. Moreover, the process itself is incredibly enjoyable. There's a unique satisfaction in watching a blank piece of paper transform into a vibrant, juicy cherry under your hand. It's a testament to the power of observation and practice.
Essential Tools for Your Cherry Drawing Journey
Before you embark on your cherry drawing adventure, gathering the right tools is key. You don't need an elaborate art studio; a few basic supplies will suffice to create a perfect cherries drawing. Here's what you'll need:
- Pencils: A range of graphite pencils is ideal. Start with an HB pencil for initial sketches, a 2B or 4B for shading, and a harder H or 2H for lighter details or construction lines. The varied hardness allows for different tonal values and precision.
- Paper: Any good quality drawing paper will do. Look for paper with a slight tooth (texture) that can hold graphite well. A smooth paper might be challenging for blending.
- Eraser: A kneaded eraser is highly recommended. It's gentle on paper, doesn't leave crumbs, and can be molded into various shapes for precise erasing or lifting graphite. A vinyl eraser is also useful for general cleanup.
- Blender (Optional): A blending stump (tortillon) or a cotton swab can help you achieve smooth transitions in your shading. You can also use your finger, but be aware that natural oils from your skin can transfer to the paper.
- Reference Image: While drawing from life is always best, a clear photograph of cherries can be an excellent reference, especially when starting out. Pay attention to the light source, highlights, and shadows.
These simple tools are all you need to get started. Remember, the quality of your tools can enhance your experience, but ultimately, it's your hand and eye that do the work. With these in hand, you're ready to learn how to draw a great looking cherries.
Understanding Cherry Anatomy: Shapes, Stems, and Highlights
To create a realistic looking cherries drawing, it's crucial to understand the fundamental components of a cherry. It's not just a red circle; it has specific features that give it character and form. We will consider the shape and size of each of the drawn parts of the cherries.
The Basic Sphere: Foundation of Your Cherry
At its core, a cherry is a sphere. However, it's rarely a perfect one. Most cherries have a slight indentation at the top where the stem attaches, and often a subtle flattening or irregularity elsewhere. When you begin your cherry drawing, start by lightly sketching a circle or an oval. This serves as your basic construction line. Think of it as a blueprint. This initial shape defines the overall volume and placement of your cherry. It's important to keep these lines very light, as they will be erased or refined later. This fundamental step is crucial for establishing the correct proportions and overall form before adding details.
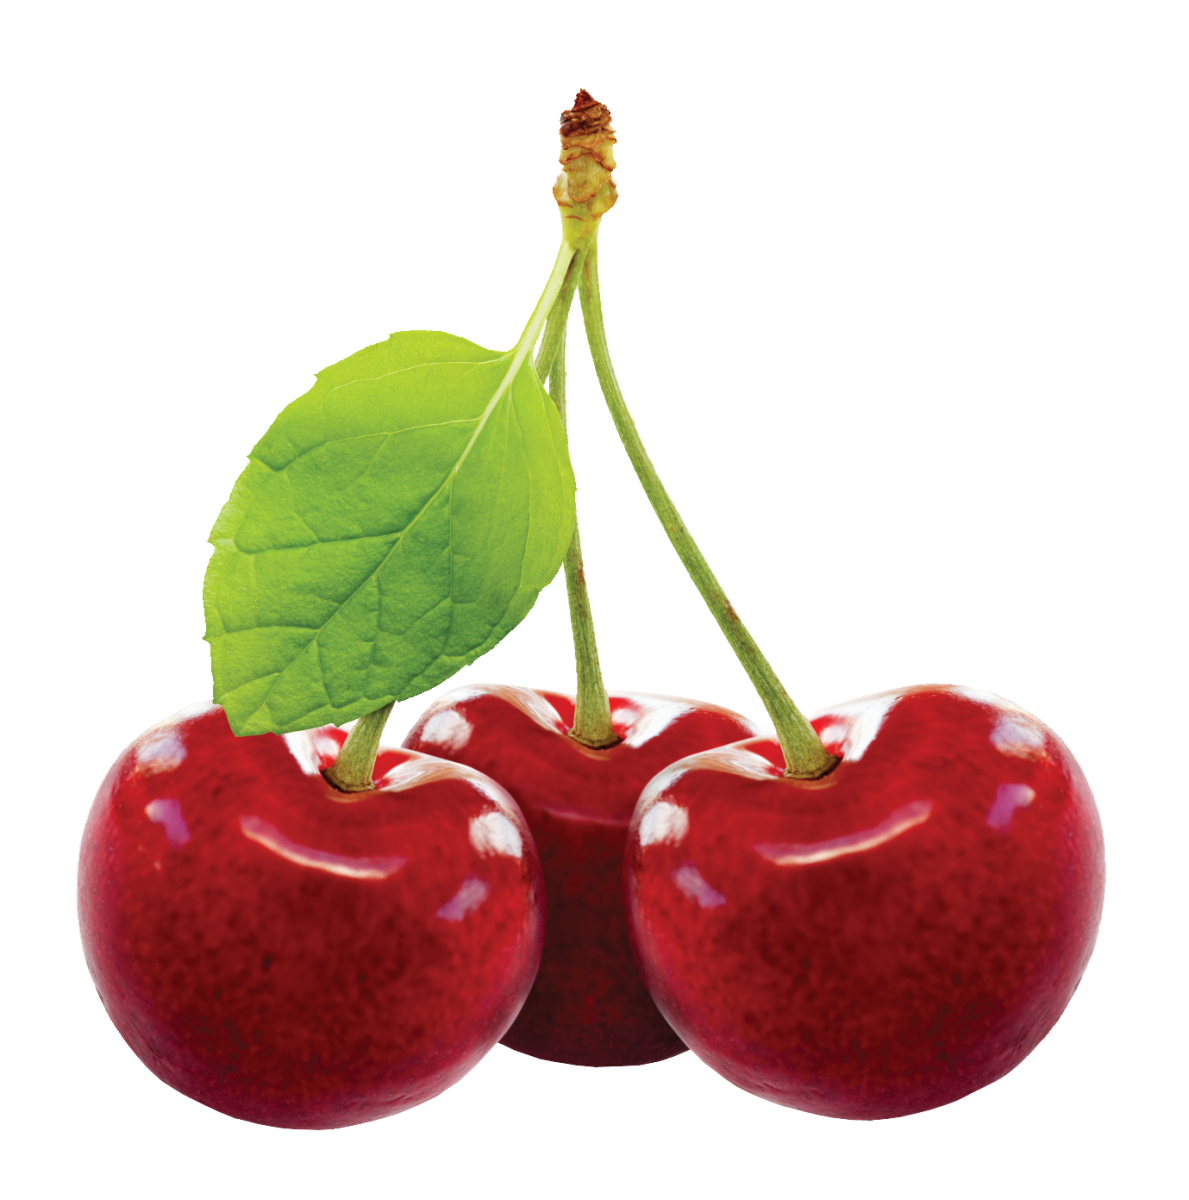
Stems and Leaves: Adding Character
The stem is an integral part of a cherry's identity. It's usually thin, slightly curved, and often joins two cherries together. Pay attention to how the stem emerges from the cherry – it typically comes out of a small, indented area. Stems are rarely perfectly straight; they have a natural curve and sometimes a slight bend. If you're drawing a cluster of cherries, observe how the stems intertwine. Sometimes, a small leaf or part of a leaf might still be attached, adding another layer of organic detail. These seemingly minor elements contribute significantly to the realism and character of your cherry drawing, giving it a sense of naturalness and life.
Step-by-Step Guide: How to Draw a Cherry
Now, let's dive into the practical steps of creating your cherry drawing. This tutorial shows how to draw realistic looking cherries, providing examples that go from basic construction lines to a finished pencil shaded drawing. By following the simple steps, you too can easily draw a perfect cherries.
Step 1: Light Construction Lines – The Blueprint
Begin by sketching very light circles or ovals on your paper using an HB or 2H pencil. These are your foundational shapes for the cherry bodies. Don't press hard; these are just guides. If you're drawing a pair of cherries, make sure they overlap slightly or are positioned naturally. Think about the overall composition at this stage. For instance, if you're aiming for a cluster, lightly block out the general area they will occupy. This initial phase is about establishing the correct size and placement on your paper, ensuring your cherry drawing fits well within your chosen space. Remember, these are rough guidelines, not final lines.
Step 2: Refining Shapes and Adding Stems
Once your basic circles are in place, start refining their shapes. Cherries aren't perfectly round; they often have a slight irregularity or a subtle flattening. Lightly sketch the indentation at the top where the stem will attach. Now, draw the stems. Observe how they curve and connect to the cherries. If you're drawing multiple cherries, show how their stems might connect or cross. Keep your lines light and fluid. This step is about transitioning from abstract shapes to recognizable cherry forms, adding the unique characteristics that define a cherry. Pay attention to the graceful lines of the stems, as they add a dynamic element to your cherry drawing.
Step 3: Outlining and Adding Core Details
With the refined shapes and stems in place, it's time to solidify your outlines. Using a slightly darker pencil (like a B or 2B), carefully trace over your refined construction lines, making them more defined. Erase any unnecessary or overlapping construction lines that are no longer needed. At this stage, you can also add subtle details like the tiny dimple at the bottom of some cherries, or the slight wrinkles where the stem meets the fruit. This is where your cherry drawing starts to truly take shape, moving from a sketch to a more concrete form. We'll show you how to draw, outline, and color your cherry drawings with markers or other preferred mediums later.
Step 4: Initial Shading and Form
Now comes the exciting part: adding dimension. Identify your light source. This is crucial for realistic shading. Lightly apply a base layer of shading to the cherries, keeping in mind where the shadows would naturally fall. Use a light hand and a consistent stroke. The areas furthest from the light source will be darker. This initial shading helps to turn your flat outline into a three-dimensional form. Think about the general curvature of the cherry; shading should follow this curve. This foundational layer is vital for building up depth in your cherry drawing, making it appear round and solid.
Step 5: Adding Depth and Highlights
Build upon your initial shading by adding darker tones in the deepest shadow areas. Use a softer pencil (like a 4B or 6B) for this. Blend these darker tones smoothly into the lighter areas using a blending stump or cotton swab. Remember to leave areas for highlights – these are the brightest spots where light directly hits the glossy surface of the cherry. Highlights are often sharp and defined. You can leave the paper white for these or use a kneaded eraser to lift graphite. This step is about creating contrast and making your cherry drawing pop with realism. The interplay of light and shadow is what truly brings a cherry to life on paper.
Step 6: Final Touches and Polishing Your Cherry Drawing
In this final step, refine all your details. Darken the stems slightly for more contrast. Add any subtle textures or imperfections you observe in real cherries. Check your highlights and shadows, ensuring they are crisp and well-defined. You might add a cast shadow beneath the cherries to ground them and make them feel like they are resting on a surface. Step back and look at your cherry drawing from a distance to spot any areas that need adjustment. This is where you bring everything together, making sure your cherry drawing looks cohesive and finished. With these simple steps, you've created a stunning piece of art!
Mastering Realism in Your Cherry Drawing
Achieving a truly realistic cherry drawing goes beyond just following steps; it involves keen observation and understanding of how light interacts with surfaces. Cherries have a distinct glossy sheen. To capture this, pay close attention to reflections and highlights. The brightest highlights will be sharp and often appear as small, irregular shapes. These are not just white spots; they reflect the light source and surrounding environment. Around these highlights, the color or tone of the cherry will subtly shift, creating a gradient that suggests roundness.
Furthermore, consider the subtle variations in color and tone across the cherry's surface. Even a "red" cherry isn't uniformly red; it might have darker crimson areas, lighter reddish-orange patches where light hits, and even hints of purple in the deepest shadows. When shading with pencils, this translates to a wide range of graphite values. This tutorial shows how to draw realistic looking cherries, emphasizing the importance of these nuances. Find and save ideas about realistic cherry drawing on Pinterest for inspiration, observing how professional artists handle these details. Indulge in the sweet and juicy goodness of cherries with our collection of cherry drawings, and let them inspire your journey into realism.
Common Mistakes to Avoid in Cherry Drawing
As with any artistic endeavor, there are common pitfalls that beginners often encounter when attempting a cherry drawing. Being aware of these can help you avoid them and improve your results significantly:
- Ignoring the Light Source: One of the most frequent mistakes is inconsistent lighting. If your light source isn't clear, your shadows and highlights will look arbitrary, making the cherry appear flat. Always establish where your light is coming from before you begin shading.
- Making Them Too Perfect: Real cherries are rarely perfectly spherical. Over-symmetrizing them can make them look artificial. Embrace slight irregularities and natural variations in shape.
- Flat Shading: Applying a uniform shade across the entire cherry without considering its roundness will result in a flat-looking drawing. Remember to vary your pressure and blend smoothly to show the curvature of the fruit.
- Neglecting Highlights: Highlights are crucial for the glossy appearance of cherries. Forgetting them or making them too dull will rob your cherry drawing of its characteristic shine.
- Stiff Stems: Stems are organic and naturally curved. Drawing them as perfectly straight lines makes them look unnatural. Observe the subtle bends and twists in real cherry stems.
- Over-outlining: While outlining is necessary, overly dark or thick outlines can make your cherry look like a cartoon. Use outlines to define shape, but rely on shading to create form and depth.
By being mindful of these common errors, you can significantly elevate the quality and realism of your cherry drawing. Every mistake is a learning opportunity, so don't be discouraged if your first attempts aren't perfect.
Creative Variations: Beyond the Basic Cherry Drawing
Once you've mastered the basic cherry drawing, the possibilities for creative expression are endless. You're not limited to just a single, isolated cherry. Here are some ideas to expand your artistic horizons:
- Cherry Clusters: Draw a bunch of cherries, paying attention to how they overlap, the intricate network of stems, and the collective shadows they cast. This adds complexity and realism.
- Cherries with Leaves: Incorporate a few vibrant green leaves into your composition. This introduces a contrasting color and texture, making your drawing more dynamic.
- Cherries in a Bowl: Place your cherries in a simple bowl or basket. This allows you to practice drawing different textures (ceramic, wicker) and how light interacts with multiple objects.
- Sliced Cherries: Explore drawing a cherry cut in half, revealing the pit and the juicy interior. This is a great exercise in depicting internal structures and different textures.
- Cherries in a Still Life: Integrate cherries into a larger still life composition with other fruits, fabrics, or objects. This challenges you to balance multiple elements and create a cohesive scene.
- Stylized Cherries: Don't feel confined to realism. Experiment with different art styles – cartoonish, abstract, minimalist. Play with exaggerated features or simplified forms.
- Color Exploration: Once you're comfortable with pencil, experiment with colored pencils, markers, watercolors, or digital art. Learn how to draw, outline, and color your cherry drawings with markers to add a new dimension of vibrancy.
These variations not only keep your practice interesting but also push your artistic boundaries, helping you to develop a more versatile and expressive drawing style. Stop by and download yours for free, or simply use online tutorials as inspiration to explore these creative avenues.
Practice and Progression: Elevating Your Cherry Art
Like any skill, drawing improves with consistent practice. The more you engage in cherry drawing, the more intuitive the process becomes. Don't aim for perfection in every single drawing; instead, focus on understanding the concepts and enjoying the process. Each attempt, whether it feels successful or not, is a step forward in your artistic journey.
- Draw Regularly: Even short drawing sessions a few times a week are more beneficial than one long session sporadically. Consistency builds muscle memory and sharpens observation skills.
- Experiment with Mediums: Try different pencils, papers, or even switch to charcoal or ink. Each medium offers a unique feel and can teach you new ways to approach form and texture.
- Seek Feedback: Share your cherry drawings with trusted friends, fellow artists, or online communities. Constructive criticism can provide valuable insights and help you identify areas for improvement.
- Study References: Continuously observe real cherries, photographs, and the work of other artists. Analyze how they capture light, form, and texture. This tutorial on how to draw cherries is for kids and beginners, but the principles of observation apply to all levels.
- Keep a Sketchbook: A sketchbook is your personal laboratory. Use it to quickly sketch ideas, practice specific elements (like stems or highlights), and track your progress over time.
Remember, learning how to draw cherries is easy and fun, and the journey is just as important as the destination. These trees are native to the hemisphere, and their universal appeal makes them a timeless subject for artists. Embrace the learning process, and you'll be amazed at how quickly your skills develop, leading to increasingly stunning and realistic cherry drawings.
Conclusion: Your Sweet Success in Cherry Drawing
You've now embarked on a detailed journey into the art of cherry drawing, transforming a blank page into a vibrant, juicy fruit. From understanding the basic spherical form and the delicate curve of the stem to mastering the nuances of shading and highlighting, you've gained invaluable insights into creating a realistic and captivating cherry drawing. We started with simple construction lines and progressed to a finished, shaded masterpiece, proving that by following these simple steps, you too can easily draw a perfect cherries.
The beauty of learning how to draw a cherry lies not only in the final artwork but also in the skills you develop along the way – observation, precision, and the ability to translate three-dimensional reality onto a two-dimensional surface. These skills are fundamental to all forms of drawing and will serve you well in your broader artistic pursuits. So, pick up your pencil, find some inspiration, and let your creativity flow. We encourage you to share your cherry drawings in the comments below, or explore other drawing tutorials on our site. Keep practicing, keep observing, and most importantly, keep enjoying the sweet journey of art!
Related Resources:

Detail Author:
- Name : Davonte Barrows
- Username : baylee52
- Email : jailyn39@cole.com
- Birthdate : 1998-04-11
- Address : 104 Tillman Ford Suite 155 Kristamouth, KY 55659
- Phone : 956-232-4349
- Company : Zemlak, Erdman and McDermott
- Job : Chemistry Teacher
- Bio : Eius sapiente omnis sed. Dolorem ipsum eum aut quae. Excepturi ducimus fugiat amet.
Socials
linkedin:
- url : https://linkedin.com/in/jankunding
- username : jankunding
- bio : Quisquam aliquam velit ratione.
- followers : 6975
- following : 1403
facebook:
- url : https://facebook.com/julia1022
- username : julia1022
- bio : Rem repudiandae molestias expedita ipsa totam.
- followers : 2503
- following : 1708
