Introduction: Unpeeling the Joy of Orange Drawing
Why Draw an Orange? More Than Just a Fruit
Essential Tools for Your Orange Drawing Adventure
The Foundation: Setting Up Your Basic Orange Shape
Starting with Simple Geometry
Bringing Color to Life: Mastering Orange Hues
Layering for Depth and Vibrancy
The Magic of Light and Shadow: Highlights and Shading
Creating Realistic Texture and Form
Step-by-Step Orange Drawing for Everyone
A Simple Guide for Younger Artists
Elevating Your Sketch to a Realistic Masterpiece
Common Pitfalls and How to Avoid Them
Beyond the Basics: Advanced Orange Drawing Techniques
Conclusion: Your Zesty Artistic Journey Continues
Introduction: Unpeeling the Joy of Orange Drawing
There's something uniquely satisfying about capturing the vibrant zest and round perfection of an orange on paper. An orange drawing isn't just about depicting a fruit; it's an exercise in understanding form, light, and texture, all wrapped up in a wonderfully accessible subject. Whether you're a budding artist, a curious beginner, or simply looking for a relaxing creative outlet, learning how to draw an orange offers a fantastic entry point into the world of art. Its simple, spherical shape makes it an ideal subject for practicing foundational drawing skills, yet its textured peel and varied hues provide ample opportunity for advanced techniques.
In this comprehensive guide, we will embark on an artistic journey to master the art of drawing oranges. From setting up the basic shape to adding intricate highlights and shading, we'll cover everything you need to know. We’ll explore various approaches, ensuring that whether you're drawing for kids, beginners, or aiming for a hyper-realistic masterpiece, you'll find clear, actionable steps. Get ready to transform a blank page into a juicy, lifelike orange that almost makes you crave nature’s perfect source of Vitamin C!
Why Draw an Orange? More Than Just a Fruit
You might wonder, with all the complex subjects out there, why focus on an orange? The answer lies in its deceptive simplicity and the wealth of artistic lessons it offers. An orange is an excellent subject for several reasons, making it a staple in many beginner drawing tutorials and a continuous challenge for seasoned artists.
- Mastering Basic Forms: At its core, an orange is a sphere. Drawing a convincing sphere teaches you how to create the illusion of three-dimensionality on a two-dimensional surface. This fundamental skill is transferable to countless other subjects, from human heads to planets.
- Exploring Color Theory: Oranges come in a spectrum of warm hues, from bright yellow-orange to deep, fiery red-orange. They present a perfect opportunity to experiment with layering colors, understanding how light affects color, and creating rich, vibrant tones that pop off the page.
- Practicing Texture: The peel of an orange isn't smooth; it's dotted with tiny pores and subtle bumps. Replicating this texture realistically challenges your observational skills and your ability to use various pencil strokes or brush techniques to convey tactile sensations.
- Understanding Light and Shadow: Because of its spherical shape, an orange beautifully demonstrates how light falls on a curved surface, creating distinct areas of highlight, mid-tone, core shadow, and reflected light. This makes it an ideal subject for learning shading techniques that bring drawings to life.
- Accessibility: Oranges are readily available, inexpensive, and don't wilt like flowers or move like pets. You can set one up as a still life anywhere, anytime, making it an incredibly convenient subject for regular practice.
In essence, an orange is a mini-masterclass in fundamental art principles. By focusing on an orange drawing, you're not just creating a picture; you're building a robust foundation for all your future artistic endeavors.
Essential Tools for Your Orange Drawing Adventure
Before we dive into the steps of creating your perfect orange, let's gather the necessary tools. You don't need an expensive art studio to start; often, the most basic supplies are all it takes to create stunning results. The key is to understand how each tool contributes to your orange drawing.
- Pencils:
- Graphite Pencils: A range of graphite pencils (e.g., HB for sketching, 2B for mid-tones, 4B or 6B for darker shadows) is essential for black and white drawings or for the initial sketch of a colored piece. Brands like Faber-Castell or Staedtler offer reliable sets.
- Colored Pencils: For adding vibrant hues, a good set of colored pencils (e.g., Prismacolor for rich, blendable colors, or Faber-Castell Polychromos for professional quality) is invaluable. You'll definitely want various shades of orange, yellow, and even some reds, browns, and greens for leaves or subtle shadows.
- Paper:
- Sketchbook Paper: For practice and quick sketches, standard sketchbook paper (around 80-100 gsm) is fine.
- Drawing Paper: For more finished pieces, opt for heavier drawing paper (120-200 gsm) with a slight tooth (texture) that can hold multiple layers of pencil or colored pencil without tearing or buckling.
- Erasers:
- Kneaded Eraser: This soft, pliable eraser is perfect for lifting graphite gently without smudging or damaging the paper. It's excellent for softening lines or creating highlights.
- Vinyl/Plastic Eraser: For precise erasing or removing stubborn lines, a white vinyl eraser works well.
- Blending Tools:
- Tortillons or Blending Stumps: These tightly rolled paper tools are fantastic for smoothing out graphite or colored pencil, creating seamless transitions between tones.
- Cotton Swabs or Tissues: For larger areas, these can also be used for blending, though they might absorb more pigment.
- Optional Tools for Advanced Techniques:
- Watercolors or Gouache: For a more painterly approach, these mediums can capture the juicy quality of an orange beautifully.
- Fine-liner Pens: For adding crisp outlines or intricate details, especially in more stylized orange drawing.
- Light Source: A desk lamp can serve as a consistent light source for your still life, helping you observe shadows and highlights more accurately.
Remember, the best tools are the ones you feel comfortable with. Don't be afraid to experiment and find what works best for your personal drawing style.
The Foundation: Setting Up Your Basic Orange Shape
Every great orange drawing begins with a solid foundation. Just like building a house, you need a strong framework before you can add the details. This initial step is crucial for establishing the correct proportions and overall form of your orange.
Starting with Simple Geometry
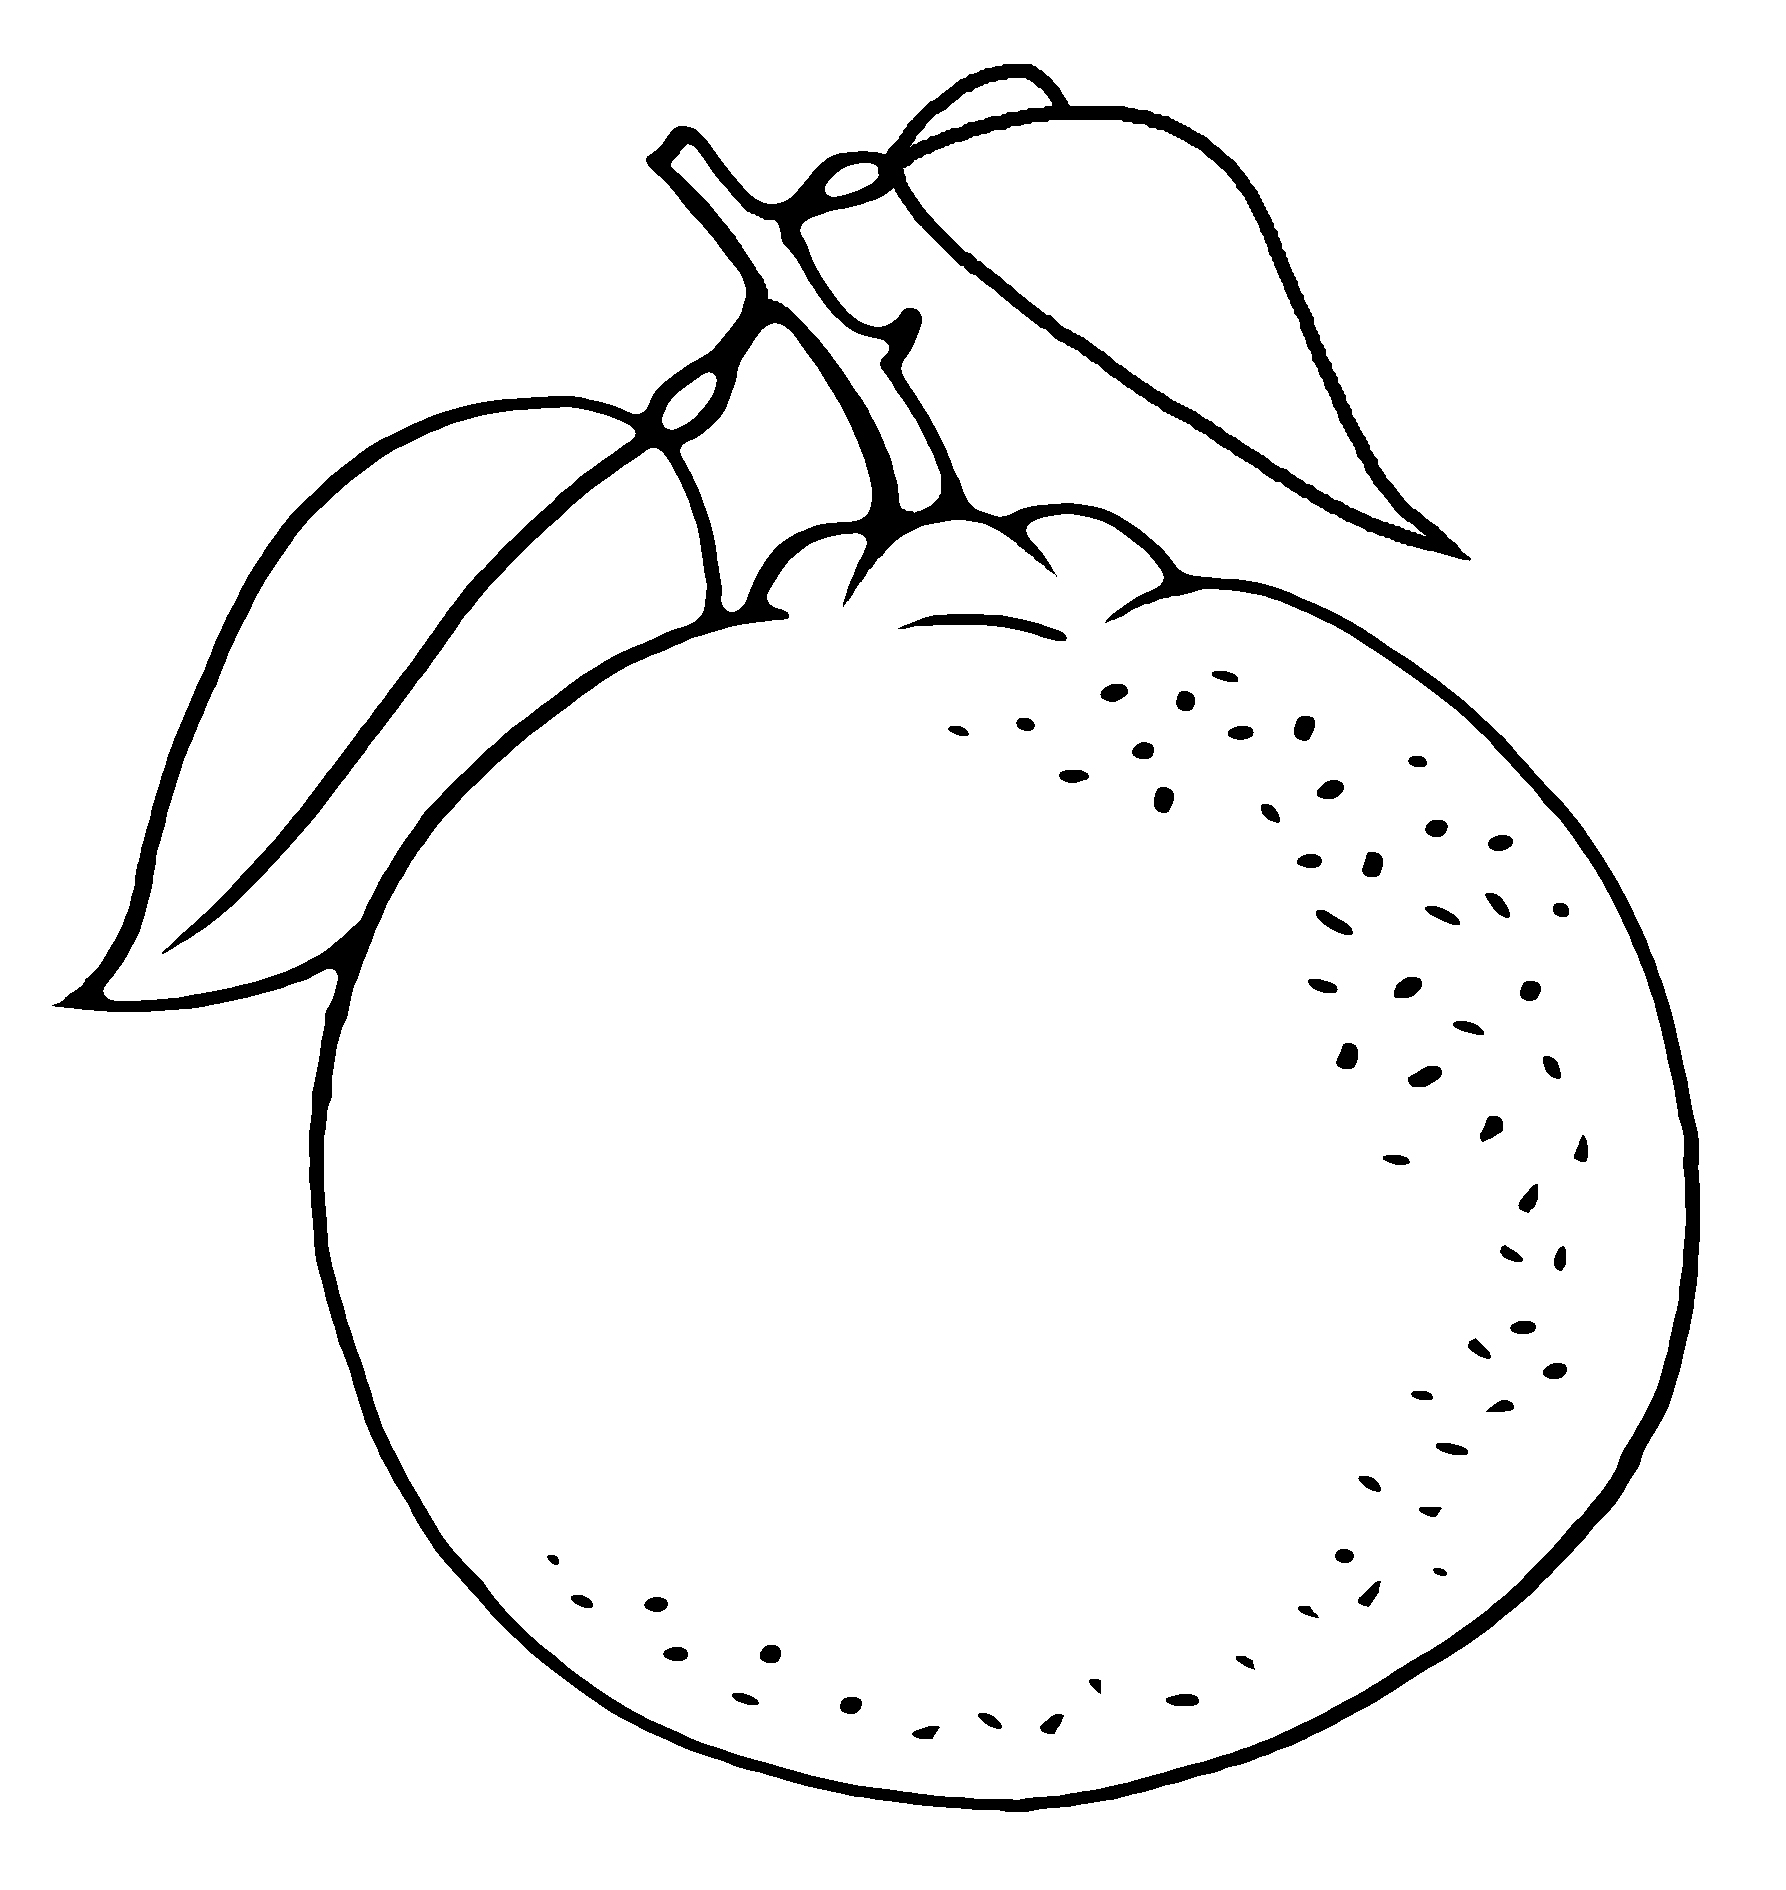
The simplest way to begin drawing an orange is to think of it as a basic geometric shape: a circle. While a real orange isn't a perfect sphere, starting with a circle provides an excellent guide. This tutorial will show you how to draw an orange using simple steps, beginning with this fundamental shape.
- Lightly Sketch a Circle: Using a light pencil (like an HB), gently sketch a circle on your paper. Don't press too hard; these lines are just guides and will be refined later. Think of it as drawing a rough outline of the orange's overall mass. If you're drawing a whole orange, ensure your circle is proportionate to the size you want the final drawing to be.
- Refine the Shape: Oranges aren't perfectly round; they often have slight irregularities, a flattened top or bottom where the stem was, or subtle bulges. Observe your reference orange (or imagine one) and slightly adjust your circle to reflect these nuances. This is where your drawing starts to gain character and move beyond a simple geometric shape.
- Indicate the Stem Area (Optional but Recommended): Lightly mark a small, slightly depressed area at the top or bottom where the stem would be. This helps orient the orange and adds to its realism. Even if you don't draw the stem itself, indicating its presence gives the orange a sense of place.
By following these simple steps, you too can easily draw a perfect orange's basic form. This initial setup is vital because it lays the groundwork for all subsequent details, ensuring your final drawing looks balanced and realistic.
Bringing Color to Life: Mastering Orange Hues
Once you have your basic shape established, it's time to infuse your orange drawing with its characteristic vibrant color. This isn't just about coloring it orange; it's about understanding how light interacts with the fruit's surface and how to create depth and realism through color layering.
Layering for Depth and Vibrancy
The secret to a rich, realistic orange color lies in layering. Instead of applying one flat shade, you'll build up color gradually, using multiple hues to create dimension and luminosity.
- Apply a Base Layer: Start with a light, even layer of a pale orange or yellow colored pencil over the entire orange shape. This serves as your foundation. Apply it gently, using consistent pressure.
- Introduce Mid-Tones: Next, introduce a slightly darker orange. Focus this layer on the areas that are not directly hit by the light, but also not in deep shadow. Think of the general body of the orange. Vary your pressure to create subtle shifts in tone.
- Add Warmth and Depth: To give your orange drawing a truly vibrant and realistic feel, incorporate other warm colors. A touch of yellow can be added to the lighter, sunlit areas, while a hint of red or even a very light brown can be layered into the areas that will eventually be in shadow. This adds complexity and prevents the color from looking flat.
- Consider Cool Tones for Shadows: While oranges are warm, their shadows are often cooler. A very light layer of blue or purple, applied subtly under the orange layers in the shadow areas, can create a more convincing shadow effect. This is a common technique in realistic art to make colors pop.
- Blend (if using colored pencils): Use your blending stump or tortillon to gently smooth out the layers. This helps to create seamless transitions and a more polished look. For watercolors or paints, blending happens naturally as you apply washes.
Remember, the goal is to build up color gradually. Don't try to achieve the final color in one go. This layering technique is crucial for creating a realistic orange drawing that truly captures the fruit's rich, inviting hue.
The Magic of Light and Shadow: Highlights and Shading
This is where your orange drawing truly comes to life. Highlights and shading are the elements that transform a flat shape into a three-dimensional object, giving it volume, form, and a sense of realism. The result will be a hyper-realistic orange if you master these techniques.
Creating Realistic Texture and Form
Understanding how light falls on a curved, textured surface is key. This step-by-step tutorial shows how to draw and shade a realistic looking orange and includes detailed pencil drawing examples for each step.
- Identify Your Light Source: Before you begin shading, decide where your light source is coming from. Is it from the top, side, or front? This will dictate where your highlights and shadows fall. Consistency is crucial for realism.
- Establish the Core Shadow: This is the darkest part of the orange, opposite the light source, where the surface curves away from the light. Use your darker pencils (e.g., 4B or 6B) or deeper orange/brown/red tones to create this area. Blend it smoothly into the mid-tones.
- Add Reflected Light: Even in the shadow area, there's often a subtle bounce of light from the surface the orange is resting on. This is called reflected light. It's usually a slightly lighter band within the core shadow, preventing the shadow from looking flat and disconnected. Don't make it as bright as the highlight.
- Create the Cast Shadow: The cast shadow is the shadow the orange casts onto the surface it's sitting on. This shadow is darkest closest to the orange and gradually fades and softens as it moves away. Its shape will mimic the orange's form and the direction of the light source. A touch of blue or purple in the cast shadow can make it more convincing.
- Place the Highlights: The highlight is the brightest spot on the orange, where the light source directly hits its surface. This is often a small, intense area. Use your kneaded eraser to lift pigment for graphite drawings, or apply white/lightest yellow for colored drawings. For a hyper-realistic effect, consider the texture: highlights on an orange aren't perfectly smooth but might sparkle on individual pores.
- Add Texture Details: Now, for the distinct orange peel texture. Using a sharpened pencil, you can lightly dot or stipple the surface, especially in the mid-tone areas, to suggest the tiny pores. Avoid doing this uniformly; vary the density and size of the dots. In shadowed areas, these textures will be less visible. This attention to detail is what makes a realistic orange drawing stand out.
Mastering these elements of light and shadow will elevate your orange drawing from a simple sketch to a truly lifelike representation. It's a practice in observation and patience, but the results are incredibly rewarding.
Step-by-Step Orange Drawing for Everyone
Drawing an orange can be approached in various ways, catering to different skill levels and desired outcomes. Whether you're looking for a simple, quick sketch or a detailed, realistic rendering, the core principles remain the same. This tutorial provides simple drawing examples with quick explanations for each of them. Here is my quick and easy step by step orange drawing tutorial that will get you craving nature’s perfect source of vitamin C.
A Simple Guide for Younger Artists
How to draw an orange easy step by step for kids, beginners, children (update) is a common search, and for good reason! This easy orange instruction guide is perfect for younger children looking to learn how to draw. All drawing steps are included here which make it fun and easy to follow!
- Draw a Circle: Start with a simple circle. Don't worry if it's not perfect; it's just the beginning.
- Add a Small Bump for the Stem: At the top of the circle, draw a tiny, slightly flattened oval or a small "U" shape to indicate where the stem would be.
- Draw a Leaf (Optional): From the stem bump, draw a simple leaf shape. It can be a basic oval with a pointed end. Add a line down the middle for the vein.
- Color It In: Use orange for the fruit and green for the leaf. You can add a little yellow for highlights or a darker orange for shadows if you like, but even a single color will make it recognizable.
This four-step approach is fantastic for building confidence and getting familiar with basic shapes.
Elevating Your Sketch to a Realistic Masterpiece
In today’s tutorial, we will show you how to draw an orange citrus fruit, and together we will create a realistic orange drawing. This guide will show you how to draw an orange in 3 ways: first, you will see how to draw a whole orange, then perhaps a sliced one, and finally, a peeled one. Learn how to draw a great looking orange with easy drawing instructions and a video tutorial (if you were watching one!). In the time it takes to peel a real orange or three, you can create a beautiful piece of art.
- The Initial Sketch (Whole Orange):
- Begin by lightly sketching the overall spherical shape as discussed in "The Foundation." Pay attention to its unique irregularities.
- Indicate the stem attachment point.
- Basic Shading and Color Lay-in:
- Identify your light source.
- Apply a base layer of light orange or yellow.
- Start building up mid-tones and initial shadows using slightly darker oranges, reds, or browns, following the curve of the orange.
- Developing Form with Highlights and Shadows:
- Deepen the core shadow.
- Add reflected light.
- Establish the cast shadow.
- Carefully place your brightest highlights, considering the orange's texture.
- Adding Texture and Fine Details:
- Use stippling or very fine, light circular motions to create the pitted texture of the orange peel. Vary the intensity and size of these marks.
- Refine the edges of the orange, ensuring they aren't too sharp, especially in shadowed areas.
- If drawing a stem or leaves, add their details, paying attention to their own light and shadow.
- For Sliced or Peeled Oranges:
- Sliced Orange: Focus on the intricate pattern of the segments, the central core, and the thin, translucent membrane separating them. The juicy texture of the flesh will require different shading techniques than the peel. Highlights will be more watery and reflective.
- Peeled Orange: This adds a new challenge – the discarded peel. Observe how the peel curls, casts its own shadows, and how its inner white pith contrasts with the bright orange exterior. The peeled segments will also have a distinct texture.
Each variation of an orange drawing offers unique learning opportunities. The key is careful observation and patience.
Common Pitfalls and How to Avoid Them
Even with clear instructions, artists often encounter common challenges when attempting an orange drawing. Recognizing these pitfalls can help you avoid frustration and improve your results significantly.
- Flatness: The most common issue is a drawing that looks two-dimensional, like a cutout.
- Solution: Focus heavily on shading. Ensure you have a full range of values from your darkest shadow to your brightest highlight. Remember the core shadow, reflected light, and cast shadow. These elements are crucial for creating depth.
- Incorrect Color Application: Applying a single, flat orange color without variation.
- Solution: Embrace layering! Use multiple shades of orange, yellow, red, and even subtle blues or purples in the shadows. Build up the color gradually, allowing previous layers to show through and create richness.
- Lack of Texture: The orange looks perfectly smooth instead of having a characteristic dimpled peel.
- Solution: Practice stippling or very light, small circular motions with a sharpened pencil. Vary the density of these marks. Observe a real orange closely to see how the texture appears in different lighting conditions – it's less visible in deep shadows and very bright highlights.
- Inconsistent Light Source: Shadows and highlights don't align with a single, clear light source.
- Solution: Before you start, decide where your light is coming from and stick to it. If drawing from a reference photo, analyze the light source in the photo. If drawing from life, use a consistent light source like a desk lamp.
- Muddy Colors/Over-blending: Colors appear dull or smeared.
- Solution: For colored pencils, avoid pressing too hard too soon. Build up layers gently. Blend only as much as needed to smooth transitions; don't overwork the paper. For paints, ensure layers are dry before adding new ones, or use appropriate blending techniques for your medium.
- Stiff Outlines: The orange looks like it's been cut out with scissors.
- Solution: Soften your outlines, especially in shadowed areas. The edge of an object often blends into its shadow. Use varying line weights; a confident, slightly thicker line can define form, but avoid uniform, dark outlines around the entire object.
By being mindful of these common issues, you can proactively improve your orange drawing skills and produce more polished, realistic results.
Beyond the Basics: Advanced Orange Drawing Techniques
Once you've mastered the fundamentals of drawing a single, whole orange, you can expand your artistic horizons by exploring more complex compositions and techniques. These advanced approaches will challenge your skills and allow you to create even more captivating orange drawing pieces.
- Composition with Multiple Oranges: Instead of just one, try drawing a small cluster of oranges. This introduces challenges like overlapping forms, creating a sense of depth, and managing multiple light and shadow patterns. Think about how the oranges interact with each other and the surface they rest on.
- Adding Context: Place your orange within a larger still life. This could be a bowl of fruit, next to a glass of juice, or on a patterned tablecloth. Adding context helps tell a story and provides opportunities to practice drawing different textures and materials.
- Incorporating Leaves and Stems: A fresh orange often comes with a green leaf and a small stem. These elements add natural detail and color contrast. Pay attention to the veins in the leaves, their slight curl, and how light interacts with their glossy surface. The stem might be rough or smooth, adding another textural element.
- Dew Drops or Water Droplets: For an extra touch of hyper-realism, consider adding tiny water droplets to the surface of your orange. This requires careful observation of how light reflects off a spherical drop and how it distorts the texture underneath. A very bright, sharp highlight and a tiny, dark shadow beneath the drop are key.
- Cross-Sections and Peeled Oranges: As mentioned earlier, drawing a sliced orange reveals its intricate internal structure. A peeled orange allows you to explore the contrast between the rough outer peel and the softer, segmented fruit inside. These views offer unique challenges in rendering different textures and forms.
- Different Lighting Conditions: Experiment with various light sources. Try drawing an orange under direct sunlight, diffused light, or even artificial light from different angles. Each scenario will create unique highlights, shadows, and color shifts, pushing your observational skills.
- Exploring Different Mediums: If you've been primarily using pencils, try watercolors, acrylics, or pastels. Each medium has its own characteristics and can bring a new dimension to your orange drawing. Watercolors, for instance, are excellent for capturing the translucent quality of orange segments.
These advanced techniques are not just about making your drawings more complex; they are about deepening your understanding of light, form, texture, and composition, allowing your artistic expression to flourish.
Conclusion: Your Zesty Artistic Journey Continues
We've journeyed through the vibrant world of orange drawing, from setting up the basic shape to mastering the nuances of color, light, and shadow. We've seen how a simple citrus fruit can become a profound subject for learning fundamental art principles, offering lessons in form, texture, and the magic of creating three-
Related Resources:


Detail Author:
- Name : Prof. Melany Labadie
- Username : breitenberg.milan
- Email : jett55@hotmail.com
- Birthdate : 1976-12-06
- Address : 505 Perry Pine Apt. 509 New Kristopher, AR 64113
- Phone : 1-573-853-4357
- Company : Weber Ltd
- Job : Washing Equipment Operator
- Bio : Eum quia aut necessitatibus voluptatibus quia eligendi dolorem. Vel quos iste esse cum ratione. Cum et odio soluta corporis ut.
Socials
instagram:
- url : https://instagram.com/steuberu
- username : steuberu
- bio : Placeat vel doloremque sed est eveniet. Placeat ut ratione velit enim. Ex odit blanditiis et optio.
- followers : 1285
- following : 2484
linkedin:
- url : https://linkedin.com/in/una_steuber
- username : una_steuber
- bio : Facere tempora dolores autem modi qui eaque.
- followers : 593
- following : 1263
tiktok:
- url : https://tiktok.com/@una_steuber
- username : una_steuber
- bio : Et maiores nulla nemo sed eius delectus placeat.
- followers : 5429
- following : 1952
twitter:
- url : https://twitter.com/steuberu
- username : steuberu
- bio : Et repellendus iste ab. Tempora sapiente sed dolores voluptates nihil. Sequi accusamus et est similique cumque voluptas rerum.
- followers : 3009
- following : 917
facebook:
- url : https://facebook.com/una_id
- username : una_id
- bio : Sit et quis minus consectetur et officiis et natus.
- followers : 1957
- following : 1563
