Flowers, with their vibrant hues, intricate forms, and delicate textures, have captivated humanity for millennia. From ancient art to modern photography, the desire to capture their ephemeral beauty is universal. The journey from observing a living bloom to creating a compelling "flower to drawing" is a rewarding artistic endeavor that blends scientific understanding with creative expression. It's an exploration of form, light, and shadow, transforming a fleeting moment of natural splendor into a lasting piece of art.
Whether you're a seasoned artist seeking new inspiration or a beginner eager to dip your toes into the world of botanical illustration, understanding the fundamental principles of drawing flowers can elevate your work. This comprehensive guide will walk you through everything from the basic anatomy of a flower to advanced techniques, ensuring you have the knowledge and tools to bring these natural wonders to life on paper. Prepare to transform your perception of blooms and embark on a captivating artistic journey.
Table of Contents
- Understanding the Flower Anatomy for Drawing
- Essential Tools for Your Flower Drawing Journey
- Mastering Basic Shapes and Composition
- Bringing Flowers to Life Through Shading and Texture
- Exploring Color and Mediums in Flower Drawing
- Popular Flower Types and Their Drawing Challenges
- Beyond the Petals: Adding Context to Your Flower Drawing
- Practice and Patience: The Keys to Mastering Flower Drawing
Understanding the Flower Anatomy for Drawing
Before you can truly master the art of "flower to drawing," it's crucial to understand what you're actually looking at. Flowers, also known as blooms and blossoms, are far more than just pretty faces; they are the reproductive structures of flowering plants (angiosperms). This biological understanding provides a foundational framework for accurate and realistic depiction. Typically, they are structured in four circular levels around the end of a stalk, a design that serves their primary purpose: facilitating the reproduction of angiosperm species through the production of seed and the formation of new life.
A flower is essentially a highly modified shoot that serves the purpose of sexual reproduction. It features a condensed axis known as the thalamus or torus, which is the base upon which all other parts are arranged. The meaning of flower, from a botanical perspective, is the specialized part of an angiospermous plant that occurs singly or in clusters, possesses whorls of often colorful petals or sepals, and bears the reproductive organs. Understanding these components – petals, sepals, stamens (male parts), and pistils (female parts) – is vital for any artist. Each flower is unique in its own way, with different colors, shapes, sizes, and blooming seasons. There are over 400,000 different types of flowers in the world, and luckily, scientists have organized them into families. This diversity means that while the underlying structure is consistent, the variations in form are endless, offering a lifetime of inspiration for your drawing endeavors. By knowing the function of each part, you can better appreciate its form and how it contributes to the overall appearance of the bloom, making your "flower to drawing" more informed and convincing.
Essential Tools for Your Flower Drawing Journey
Embarking on your "flower to drawing" adventure requires a few fundamental tools. While the specific choice of materials can vary based on your preferred medium and style, a basic set will get you started and allow for significant progress. Investing in quality tools, even at a beginner level, can make a noticeable difference in your results and overall enjoyment.
- Pencils: A range of graphite pencils is indispensable. Start with an HB for general sketching, a 2B or 4B for darker lines and shading, and a 2H for light, preliminary outlines. These variations allow for different line weights and tonal values, crucial for capturing the delicate nuances of a flower.
- Paper: Choose drawing paper with a good "tooth" (texture) that can hold graphite well. Smooth paper is suitable for fine details, while slightly textured paper can enhance shading. A weight of 90-120 gsm (grams per square meter) is generally good for sketching.
- Erasers: A kneaded eraser is excellent for lifting graphite without damaging the paper, allowing for subtle corrections and highlights. A plastic or vinyl eraser is good for precise, clean erasures.
- Blending Tools: Tortillons (paper stumps) or blending stumps are useful for smoothing out graphite and creating soft transitions in shading. You can also use cotton swabs or even your finger, though be mindful of oils from your skin.
- Reference Material: While drawing from life is ideal, high-quality photographs are excellent alternatives. When selecting references for your "flower to drawing" projects, look for images with clear lighting that reveal the flower's form, shadows, and textures. Consider using a live flower, perhaps from your garden, to observe its unique characteristics firsthand.
- Optional Tools: A ruler for establishing initial guidelines, a compass for perfect circles (useful for the center of some flowers), and a light box for tracing if you're starting with a preliminary sketch you want to refine.
Remember, the tools are merely extensions of your hand and eye. The most important "tool" is your observation and willingness to practice. With these essentials, you're well-equipped to begin your journey from flower to drawing.
Mastering Basic Shapes and Composition
The secret to a successful "flower to drawing" often lies in breaking down complex forms into simpler, more manageable shapes. This foundational approach helps you establish accurate proportions and a strong underlying structure before diving into intricate details. Think of it as building a house; you wouldn't start with the wallpaper before laying the foundation.
Simplifying Complex Forms
Even the most elaborate blooms, with their myriad petals and delicate curves, can be reduced to basic geometric shapes. For instance, a rose might start as a series of concentric circles and ovals, while a sunflower could begin with a large circle for the head and a series of radiating lines for the petals. Many flowers, as we learned, are structured in four circular levels around a central stalk, which can guide your initial circular or oval sketches. Start by lightly sketching the overall shape of the flower, its stem, and any accompanying leaves. Use light, loose lines – these are merely guides that you can erase later. Don't press too hard; the goal is to map out the general form and placement within your drawing space. This simplification process is crucial for achieving accurate proportions and a balanced overall shape, making the transition from a live flower to drawing its essence much smoother.
Composition and Perspective
Once you have the basic shapes, consider the composition. How will the flower sit on your page? Will it be a single bloom, or part of a larger bouquet? Good composition guides the viewer's eye and creates visual interest. Think about the rule of thirds, placing your main subject off-center for a more dynamic feel. Perspective is equally important. Are you looking down on the flower, up at it, or directly at eye level? This will affect how the petals overlap and how the center appears. For example, if you're drawing a flower from above, its circular base will appear more as an ellipse. The reproductive part of flowering plants, often located at the center, will also appear differently depending on your viewpoint. By consciously considering these elements early in your "flower to drawing" process, you lay the groundwork for a compelling and lifelike portrayal. Don't be afraid to experiment with different angles and arrangements; this is where your artistic vision truly comes into play.
Bringing Flowers to Life Through Shading and Texture
Once the foundational shapes and composition are in place, shading and texture are what truly transform your "flower to drawing" from a flat outline into a three-dimensional representation. These elements add depth, volume, and realism, capturing the subtle nuances that make each bloom unique.
Shading is about understanding light and shadow. Observe your reference flower carefully: where is the light source coming from? This will determine where the highlights (brightest areas) and shadows (darkest areas) fall. Petals, with their delicate curves, will have subtle shifts in tone as they turn away from or towards the light. Use a range of graphite pencils to build up your values, from the lightest grays to the deepest blacks. Start with lighter pressure and gradually build up layers for smoother transitions. Pay attention to cast shadows, which are the shadows the flower casts onto itself or the surface it rests upon; these are essential for grounding your drawing and giving it a sense of place. Remember that flowers facilitate the reproduction of angiosperm species through the production of seed and the formation of intricate internal structures, and these internal forms will also cast their own subtle shadows.
Texture, on the other hand, is about conveying the tactile quality of the flower. Petals can be smooth, velvety, ruffled, or even slightly crinkled. The stem might be smooth or have tiny hairs. The center of the flower, which is the reproductive part of flowering plants, often has a distinct texture, whether it's the powdery stamens or the intricate pistil. You can achieve texture through various pencil strokes: short, feathery strokes for delicate petals; cross-hatching for a rougher feel; or tiny dots for a granular surface. Don't just draw what you think a petal looks like; draw what you *see*. The beauty and diversity of colorful flowers, scents and textures, and intriguing scientific properties can feel like a world beyond our own, but it's these very details that make your "flower to drawing" truly come alive. By meticulously observing and rendering these subtle variations in tone and surface, you can imbue your drawing with a sense of realism and vibrancy that captivates the viewer.
Exploring Color and Mediums in Flower Drawing
While graphite drawings offer a timeless elegance, introducing color can elevate your "flower to drawing" to another level, capturing the vibrant essence of nature's palette. The choice of medium will significantly influence the final look and feel of your artwork, each offering unique advantages and challenges.
Colored Pencils: These are an excellent entry point into color for flower drawing. They allow for precise detail, layering, and blending, much like graphite pencils. You can build up rich, vibrant hues by applying multiple layers of different colors. Understanding how colors interact – for instance, layering a light green over a yellow to create a lime green – is key. The beauty and diversity of colorful flowers make colored pencils an ideal medium for capturing their nuances. You can achieve soft, delicate transitions or bold, saturated areas, depending on your pressure and layering technique.
Watercolors: For a more ethereal and fluid approach to "flower to drawing," watercolors are a beautiful choice. Their transparency allows for luminous washes and delicate glazes, perfectly suited for the translucent quality of many petals. You'll work from light to dark, building up layers of color. Mastering watercolor involves understanding water-to-pigment ratios and controlling washes, which can be challenging but incredibly rewarding. The way colors blend on the paper can mimic the natural gradients found in a bloom, making them ideal for capturing the unique characteristics of different flower types.
Pastels (Soft and Oil): Pastels offer a rich, velvety texture and intense color. Soft pastels are great for broad strokes and blending, creating a painterly effect, while oil pastels provide a bolder, more crayon-like texture. Both are excellent for capturing the vibrancy and texture of flowers, though they can be messy. They allow for direct application of color, which can be very expressive for your "flower to drawing" projects.
Digital Art: For those who prefer a modern approach, digital drawing software (like Procreate, Photoshop, or Clip Studio Paint) offers immense flexibility. You can experiment with various brushes, layers, and colors without worrying about running out of supplies or making irreversible mistakes. Digital tools can simulate traditional mediums, allowing you to achieve effects similar to colored pencils, watercolors, or oils, all within a single platform. This medium is particularly forgiving for beginners, allowing for easy corrections and experimentation as you refine your "flower to drawing" skills.
Regardless of the medium, the principles of color theory – understanding hue, saturation, and value – are paramount. Observe how light interacts with the flower's specific color, creating subtle shifts and reflections. Each flower is unique in its own way, with different colors, shapes, sizes, and blooming seasons, and your chosen medium can help you convey these distinct qualities effectively.
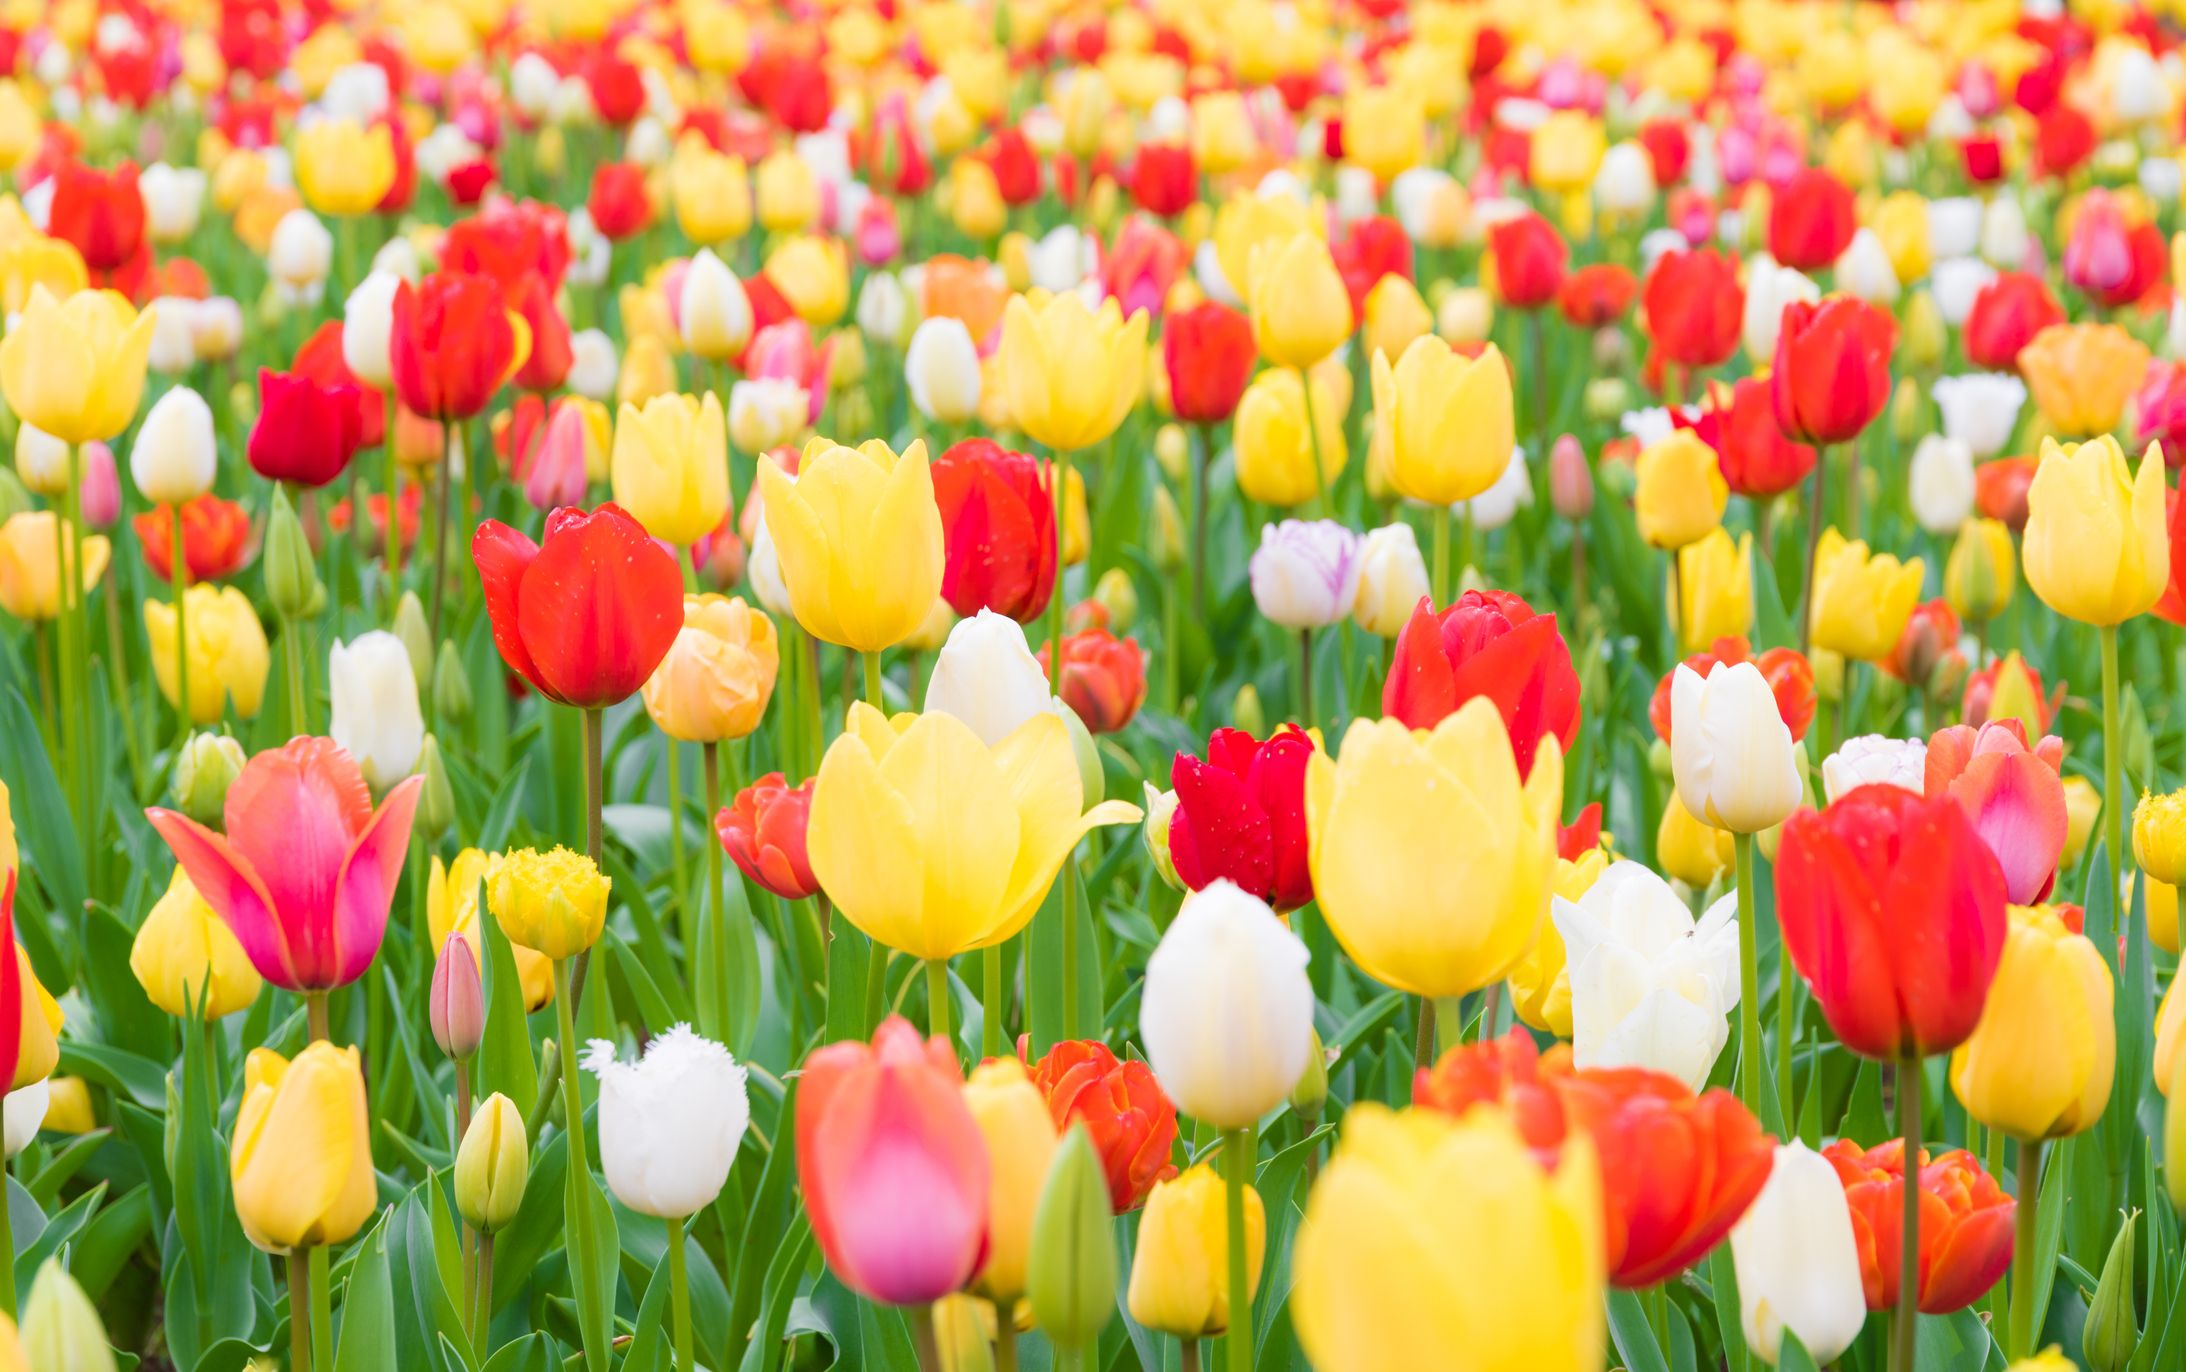
Popular Flower Types and Their Drawing Challenges
With over 400,000 different types of flowers in the world, the possibilities for your "flower to drawing" projects are virtually endless. However, some flowers are perennial favorites for artists due to their iconic beauty and the unique challenges they present. Understanding these specific characteristics can help you approach your drawing with a clearer strategy.
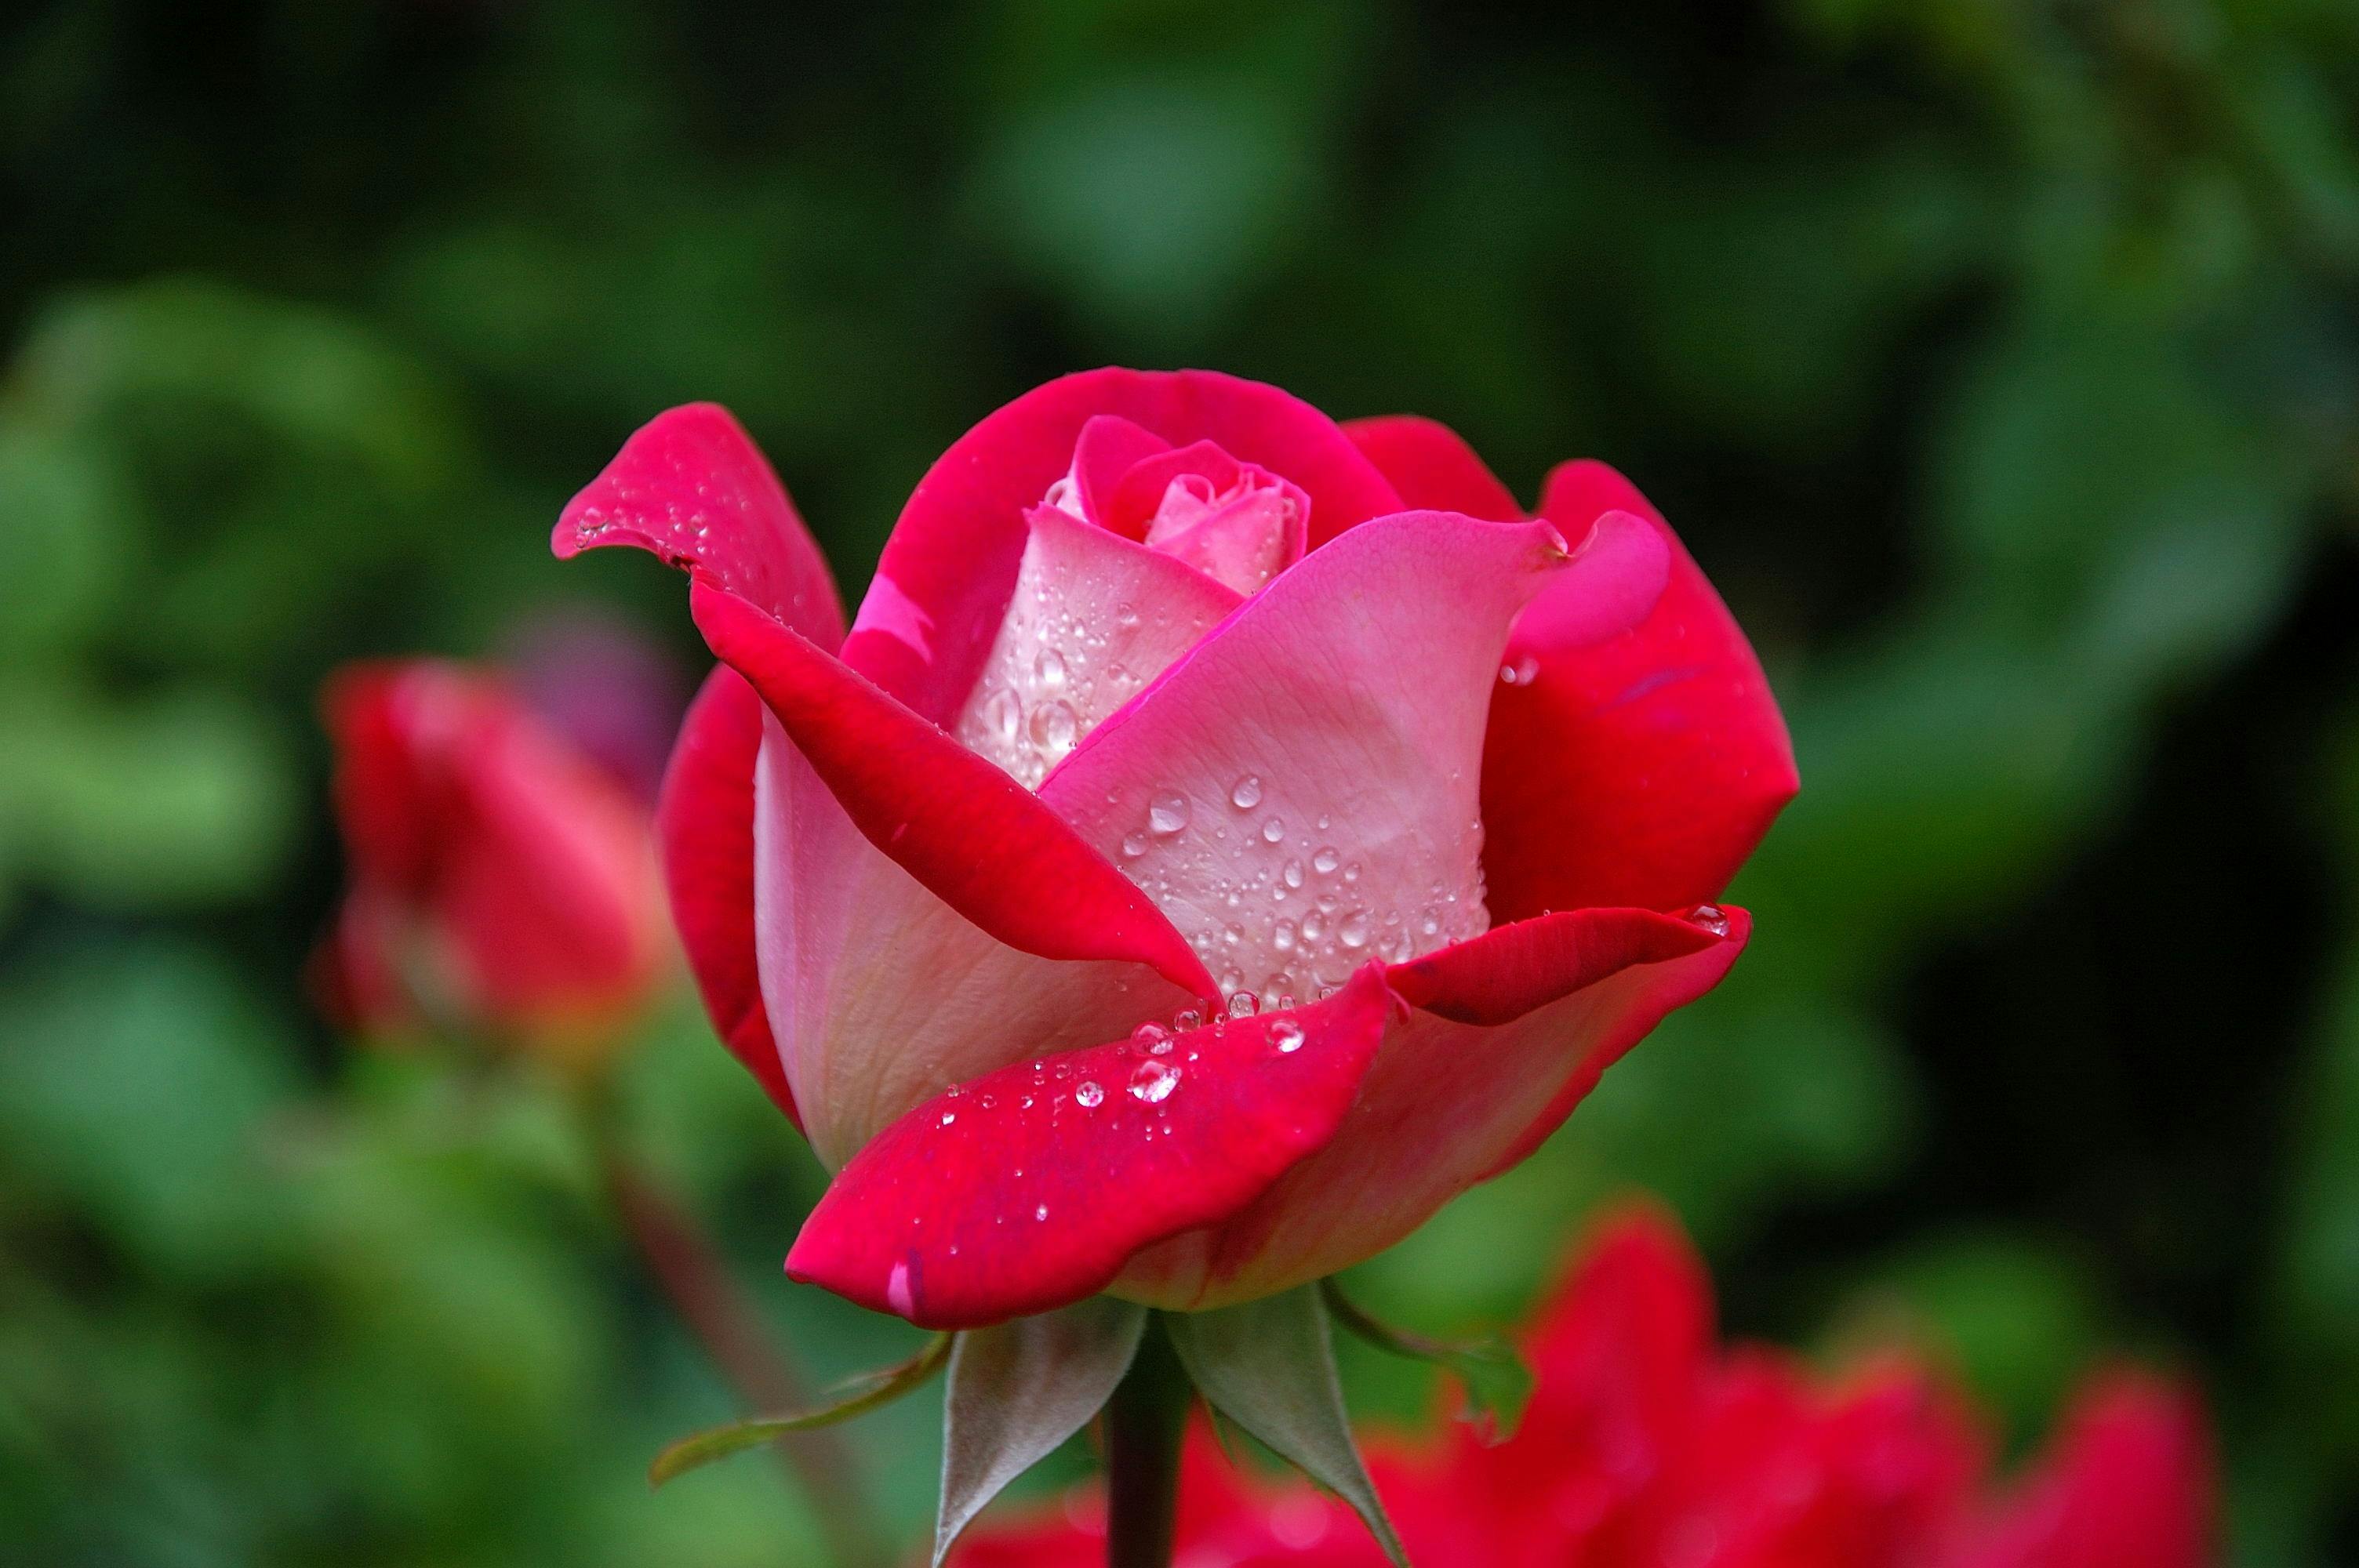
Roses: The Classic Challenge
The rose, perhaps the most beloved flower, presents a fascinating challenge for artists. Its beauty lies in its intricate layers of petals, which spiral outwards from a tight center. The difficulty in drawing a rose lies in capturing this complex, overlapping structure without making it look flat or messy. Each petal is unique in its curve and overlap, and understanding how they unfurl is key. Start by establishing the central bud, then build outward with concentric, slightly overlapping ovals for the petals. Pay close attention to the shadows created by the overlapping petals, as these define the rose's depth and form. The delicate edges and subtle shifts in value are what truly bring a rose "flower to drawing" to life. It's not just the beauty of the rose, but its structural complexity that makes it a rewarding subject.
Sunflowers: Radiant Simplicity
In stark contrast to the rose's complexity, the sunflower offers a more straightforward, yet equally captivating, "flower to drawing" experience. Its large, circular head and radiating petals make it an excellent subject for practicing symmetry and perspective. The challenge with sunflowers often lies in capturing the sheer number of petals and the intricate pattern of seeds in the central disk (the reproductive part of the plant). Start with a large circle for the head, then draw radiating lines for the general direction of the petals. Focus on the overlapping of the petals and how they diminish in size as they recede into the distance. The central disk, a condensed axis known as the thalamus or torus, requires careful attention to detail, often involving small, repeating patterns. The vibrancy of the sunflower's yellow petals and dark center also makes it a fantastic subject for exploring color and contrast.
Other popular flowers like lilies (with their elegant, trumpet-like forms), daisies (simple yet charming), and orchids (exotic and structurally unique) each offer their own set of drawing lessons. By tackling a variety of flower types, you'll develop a versatile skill set and a deeper appreciation for the diverse forms that nature provides for your "flower to drawing" inspiration. Remember, understanding these plant families can help us grow as artists.
Beyond the Petals: Adding Context to Your Flower Drawing
While the flower itself is undoubtedly the star of your "flower to drawing," incorporating elements beyond the petals can significantly enhance your artwork, adding depth, narrative, and a sense of place. A flower rarely exists in isolation; it's part of a larger ecosystem, and including hints of this context can make your drawing more compelling and realistic.
Consider the stem and leaves. These are often overlooked but are crucial for grounding the flower and providing structural support. Observe their natural curves, the way they emerge from the stem, and their veins. Leaves, like petals, have unique shapes, textures, and ways they catch the light. They can also create interesting negative space around the bloom. Don't just draw generic leaves; pay attention to the specific foliage of the flower you're drawing. For instance, a rose's thorny stem and serrated leaves are distinct from the broad, smooth leaves of a lily.
Adding a background, even a simple one, can also elevate your "flower to drawing." This could be a softly blurred wash of color to suggest distance, subtle indications of other plants, or even just the shadow cast by the flower on a surface. A well-executed background helps to push the main subject forward, making it pop. Conversely, a detailed background can create a richer, more immersive scene, though care must be taken not to overshadow the flower itself. Think about the environment where the flower typically grows – is it in a wild meadow, a manicured garden, or a simple vase on a table? These subtle cues can add narrative to your drawing.
Finally, consider the interaction of light. How does the light fall on the flower and its surroundings? Are there strong highlights and deep shadows, suggesting a bright sunny day, or softer, diffused light, indicating an overcast sky? Light can create mood and atmosphere, transforming a simple "flower to drawing" into a captivating scene. By expanding your focus beyond just the bloom, you can create a more complete and engaging piece of art that truly captures the essence of the flower in its natural or arranged setting.
Practice and Patience: The Keys to Mastering Flower Drawing
Like any skill, mastering "flower to drawing" is a journey that requires consistent practice and a healthy dose of patience. There are no shortcuts to developing a keen eye and a steady hand. Each flower you draw, whether it's a quick sketch or a detailed illustration, contributes to your growth as an artist.
Start small and simple. Don't feel pressured to create a masterpiece with every attempt. Focus on individual elements: practice drawing single petals, then a cluster of stamens, then a leaf. This breaks down the seemingly overwhelming task of drawing a full flower into manageable steps. Remember that each flower is unique in its own way, and embracing this uniqueness in your practice will sharpen your observational skills. You will learn about flowers that bloom in winter as well as flowering bushes, shrubs, and flowering trees, each offering new forms and textures to explore.
Embrace mistakes as learning opportunities. A line that goes astray, a shadow that's too dark – these are not failures but insights into what to adjust next time. Keep a sketchbook dedicated to your "flower to drawing" endeavors. Fill it with quick studies, detailed renderings, and experimental pieces. The sheer volume of practice will build muscle memory and refine your artistic intuition. Don't be afraid to try drawing the same flower multiple times from different angles or using different mediums. This repetition reinforces learning and allows you to explore variations in form and light.
Seek inspiration from various sources. Look at botanical illustrations, fine art paintings, and high-quality photographs. Study how other artists have approached the challenge of "flower to drawing." This doesn't mean copying, but rather understanding their techniques and incorporating what resonates with you into your own style. Understanding how scientists have organized the over 400,000 different types of flowers in the world can also inspire you to explore new species and their distinct characteristics.
Finally, remember to enjoy the process. Drawing flowers is a meditative and rewarding activity. It forces you to slow down, observe the intricate beauty of nature, and translate that beauty through your hands. The journey from a simple bloom to a detailed "flower to drawing" is a testament to your dedication and artistic passion. Keep drawing, keep observing, and watch your skills blossom.
Conclusion
The journey from a vibrant "flower to drawing" is a profound artistic exploration, blending the meticulous observation of nature with the expressive power of your hand. We've delved into the intricate anatomy of blooms, recognizing that their scientific structure underpins their aesthetic appeal. We've explored the essential tools that serve as extensions of your vision, from the humble pencil to versatile digital tablets. By mastering basic shapes, understanding composition, and diligently applying shading and texture, you can transform flat lines into three-dimensional forms that breathe with life. The exploration of various mediums, from the delicate washes of watercolor to the rich hues of colored pencils, offers endless possibilities for capturing the vibrant spirit of these natural wonders.
Whether you choose to tackle the complex layers of a rose or the radiant simplicity of a sunflower, each "flower to drawing" project is an opportunity for growth and discovery. Remember that patience, consistent practice, and a keen eye for detail are your most valuable assets. Don't just draw what you think a flower looks like; draw what you truly see, appreciating the unique characteristics of each bloom. As you continue your artistic journey, allow the boundless beauty and diversity of flowers to be your constant source of inspiration. Now, pick up your pencil and let the petals guide your hand. What flower will you draw next? Share your thoughts and experiences in the comments below, or explore more of our articles on botanical art to further cultivate your skills!
Related Resources:

Detail Author:
- Name : Tyler Braun
- Username : jules12
- Email : qhoppe@hotmail.com
- Birthdate : 1982-11-16
- Address : 2849 Lucie Lock New Austyn, ND 32968-4337
- Phone : 331.901.3018
- Company : Cormier-Gutmann
- Job : Taper
- Bio : Aliquam sed ut deleniti. Aut velit ut aut ea numquam. Asperiores mollitia at dolorum praesentium neque perferendis.
Socials
twitter:
- url : https://twitter.com/malloryking
- username : malloryking
- bio : Illo omnis ullam sint et nisi. Qui ut corporis quia voluptas quam. Nostrum aspernatur illum dignissimos accusamus accusantium assumenda.
- followers : 5791
- following : 1002
facebook:
- url : https://facebook.com/malloryking
- username : malloryking
- bio : Error perferendis mollitia quisquam atque eveniet reiciendis non.
- followers : 3256
- following : 1707
