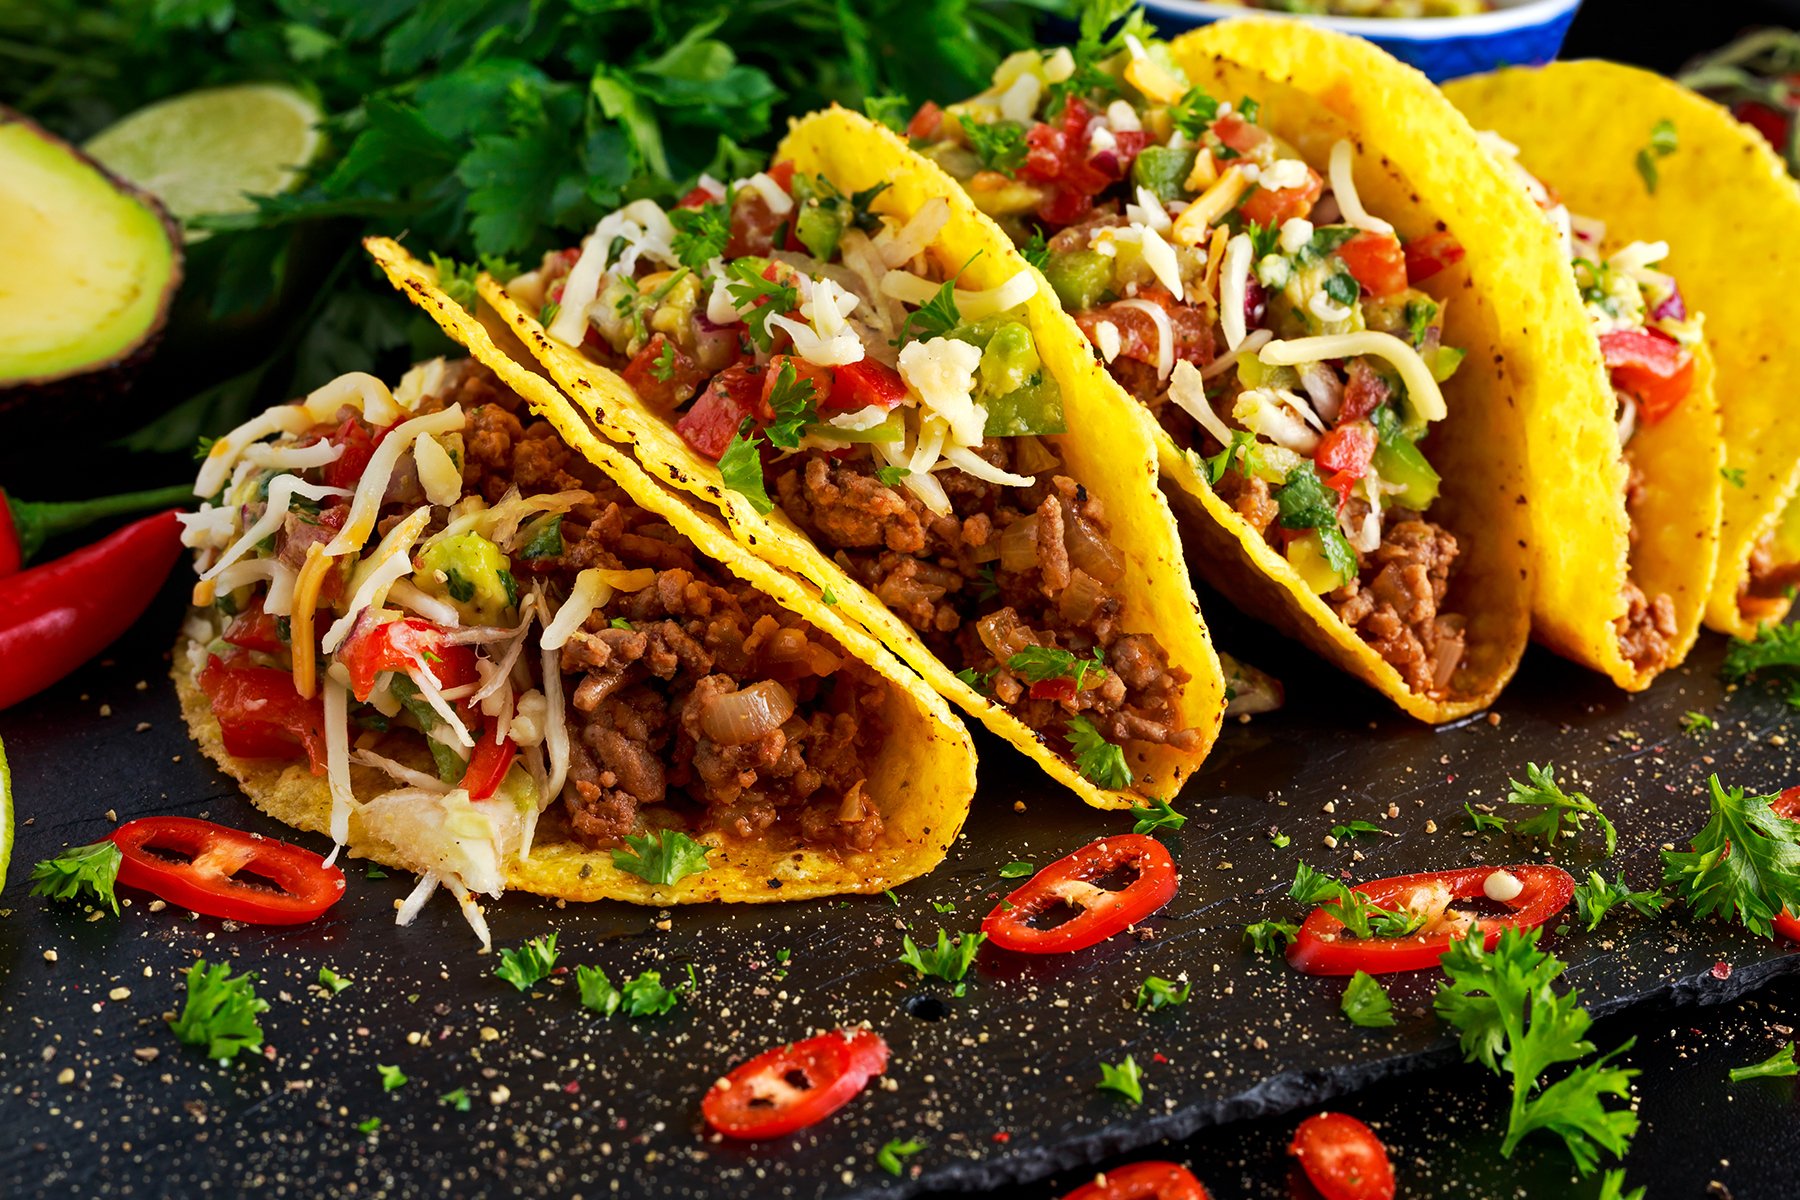
Few culinary experiences rival the joy of a perfectly constructed taco. While the fillings often steal the spotlight, the unsung hero, the foundation upon which all deliciousness rests, is undoubtedly the taco shell. Whether you crave the satisfying snap of a hard shell or the comforting pliability of a soft one, mastering the art of making homemade taco shells elevates your taco night from good to unforgettable. It’s a journey that promises superior texture, unparalleled freshness, and the immense satisfaction of creating something truly special from scratch. Forget the store-bought varieties; once you experience the difference, there's no turning back.
This comprehensive guide will walk you through everything you need to know about crafting your own taco shells, from the classic crispy corn to the tender, authentic flour. We'll delve into various cooking methods, essential tips, and creative ideas to ensure your homemade taco shells are nothing short of perfection. Get ready to transform your kitchen into a taco haven and impress your family and friends with shells that are not only easy to make but also incredibly delicious.
The Foundation: Understanding Taco Shells
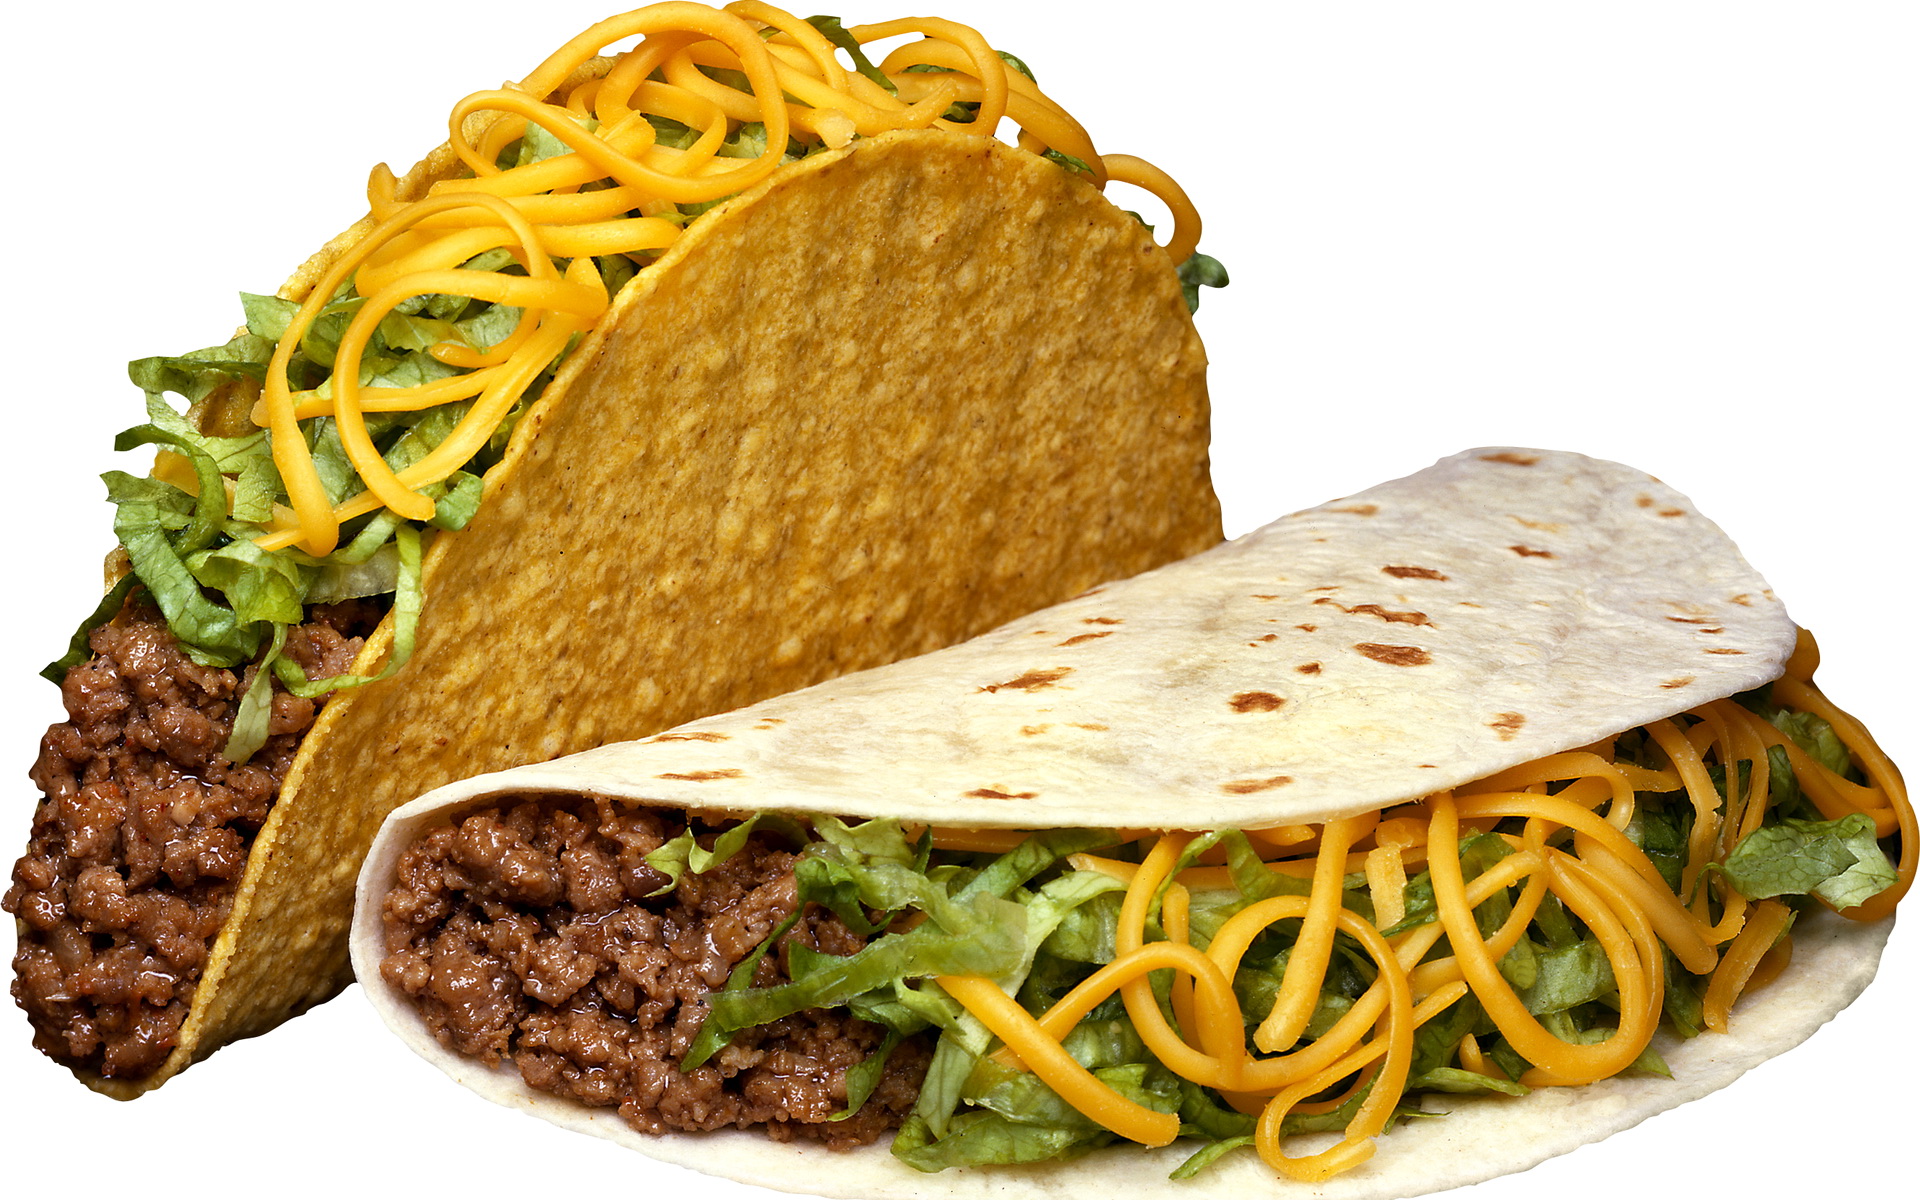
Before we dive into the nitty-gritty of cooking, it's crucial to understand the two main types of taco shells: hard and soft. Each offers a unique experience and plays a distinct role in the world of tacos. Hard taco shells, typically made from corn tortillas, are known for their satisfying crunch, providing a textural contrast to juicy fillings. They're often associated with Americanized tacos but have roots in Mexican street food traditions, albeit in a slightly different form.
Soft taco shells, on the other hand, are a cornerstone of Mexican cuisine. These pliable tortillas, made from either corn or flour, offer a delicate balance of texture and flavor that complements a wide variety of fillings. They are designed to be wrapped around the ingredients, allowing for a more intimate and often less messy eating experience. The choice between hard and soft often comes down to personal preference, but knowing how to make both opens up a world of culinary possibilities.
Crafting Crispy Perfection: Hard Taco Shells
For many, the quintessential taco experience involves that delightful crunch. Learning how to make crispy and delicious taco shells with corn tortillas is surprisingly straightforward, and the results far surpass anything you'd buy pre-packaged. Homemade hard taco shells are the best you’ll ever have; they’re easy to make, super crunchy, and perfect for pairing with all of your favorite taco fillings. Here are three popular methods:
The Classic Fry Method
This is arguably the most traditional way to achieve that signature crunch. Homemade taco shells filled with your favorite taco fixings are easy to make by frying tortillas into folded taco shells with just a skillet and oil.
What You'll Need:
- Corn tortillas (stale ones work best as they absorb less oil)
- Vegetable oil, canola oil, or peanut oil (enough to submerge half a tortilla)
- A deep skillet or cast-iron pan
- Tongs or a spatula
- Paper towels for draining
Step-by-Step Guide:
- Heat the Oil: Pour about 1/2 to 1 inch of oil into your skillet. Heat it over medium-high heat until it reaches around 350-375°F (175-190°C). If you don't have a thermometer, a good test is to drop a tiny piece of tortilla into the oil; if it sizzles vigorously and floats to the top, it's ready.
- Warm the Tortillas: Briefly warm each corn tortilla in a dry skillet or microwave for 10-15 seconds. This makes them pliable and less likely to crack when folded.
- Fry and Fold: Carefully place one warmed tortilla into the hot oil. Let it fry for about 10-15 seconds until it starts to soften and puff slightly. Using tongs or a spatula, gently fold the tortilla in half, pressing down lightly to create the taco shell shape. Hold it in place for another 30-60 seconds, or until it holds its shape and turns golden brown and crispy.
- Drain: Carefully remove the crispy taco shell from the oil and place it on a plate lined with paper towels to drain excess oil. Repeat with the remaining tortillas.
Expert Tips for Frying:
- Don't overcrowd the pan; fry one or two at a time to maintain oil temperature.
- Adjust heat as needed to prevent burning.
- For extra crispiness, some chefs recommend a double-fry: a quick fry to soften and shape, then a second fry at a slightly higher temperature for the final crisp.
Oven Baked Brilliance
If you're looking for a healthier alternative or prefer a less messy approach, making crispy taco shells in the oven is an excellent choice. You can also try homemade taco bowls in the oven with a cupcake pan. Learn how to make perfectly crispy taco shells in the oven, whether hard or soft, with this method.
What You'll Need:
- Corn tortillas
- Cooking spray or a small amount of oil
- Baking sheet
- Oven rack or a cupcake/muffin pan (for shaping)
Step-by-Step Guide:
- Preheat Oven: Preheat your oven to 375°F (190°C).
- Prepare Tortillas: Lightly spray or brush both sides of each corn tortilla with oil. This helps them crisp up evenly.
- Shape and Bake:
- For classic shells: Drape each tortilla over two bars of an oven rack, creating a "V" shape. This allows air to circulate and crisp both sides.
- For taco bowls: Press tortillas into the cups of an inverted cupcake or muffin pan.
- Bake: Bake for 7-10 minutes, or until golden brown and crispy. Keep a close eye on them as they can go from perfectly crisp to burnt very quickly. Learn to make delicious, homemade baked crispy taco shells in less than 10 minutes!
- Cool: Remove from the oven and let them cool on the rack or in the muffin pan. They will crisp up further as they cool.
Expert Tips for Oven Baking:
- Ensure tortillas are lightly oiled for best results.
- Don't overlap tortillas on the rack; give them space.
- If using a muffin pan, ensure the tortillas are pliable enough to press into the cups without tearing.
Air Fryer Magic
The air fryer has revolutionized home cooking, and making crispy taco shells in an air fryer is not only easy but also allows you to create a delicious, healthier alternative to deep-frying. Learn how to create crispy and delicious taco shells in your air fryer with this easy guide.
What You'll Need:
- Corn tortillas
- Cooking spray
- Air fryer
Step-by-Step Guide:
- Preheat Air Fryer: Preheat your air fryer to 350°F (175°C) for 3-5 minutes.
- Prepare Tortillas: Lightly spray both sides of each corn tortilla with cooking spray.
- Shape and Air Fry: Gently fold each tortilla in half. Place 1-2 folded tortillas in the air fryer basket, ensuring they don't overlap. You might need to hold them in place with a small piece of foil or a metal skewer initially to maintain the fold.
- Cook: Air fry for 5-8 minutes, flipping halfway through, until they are golden brown and crispy. Cooking times can vary based on your air fryer model, so monitor closely.
Expert Tips for Air Frying:
- Don't overload the basket; air circulation is key for crispiness.
- If your tortillas are too stiff to fold, warm them slightly in the microwave before spraying and folding.
- For a flatter hard shell, you can cook them flat for a few minutes, then fold and cook for the remaining time.
The Art of Softness: Soft Taco Shells
While crispy shells offer a satisfying crunch, the art of making soft taco shells is a cornerstone of Mexican cuisine, offering a delicate balance of texture and flavor that complements a wide variety of fillings. Soft taco shells are a staple in Mexican cuisine, and cooking them to perfection can elevate your taco game. Whether you’re a seasoned chef or a beginner in the kitchen, cooking soft taco shells from scratch is a rewarding experience.
What You'll Need:
To make your own taco shells with flour, you'll typically need: flour, cornmeal (optional, for texture), salt, water, and sometimes a little oil or fat like lard, and an egg (optional, for richness and pliability).
- 2 cups all-purpose flour
- 1/2 teaspoon salt
- 1/4 cup vegetable shortening or lard (or oil)
- 3/4 cup warm water (plus a little more if needed)
- Optional: 1 egg (for added richness and pliability, as mentioned in some traditional recipes)
Step-by-Step Guide for Flour Tortillas:
- Combine Dry Ingredients: In a large bowl, whisk together the flour and salt. If using cornmeal, add it here.
- Incorporate Fat: Cut in the shortening or lard with your fingertips or a pastry blender until the mixture resembles coarse crumbs. If using oil, drizzle it in and mix.
- Add Liquid: Gradually add the warm water (and whisked egg, if using), mixing until a shaggy dough forms.
- Knead: Turn the dough out onto a lightly floured surface and knead for 5-7 minutes until it's smooth and elastic.
- Rest: Divide the dough into 12-16 equal pieces, roll them into balls, and cover them with a damp cloth. Let them rest for at least 30 minutes (or up to an hour). This resting period is crucial for tender, pliable tortillas.
- Roll Out: On a lightly floured surface, roll out each dough ball into a thin circle, about 6-8 inches in diameter. Try to make them as thin as possible without tearing.
- Cook: Preheat a dry skillet (cast iron or non-stick) over medium/high heat. Place one tortilla in the hot skillet. Cook for about 30 seconds to 1 minute per side, or until light brown spots appear and the tortilla puffs up. The batter will be runny if you're making a thinner, crepe-like shell, but for traditional tortillas, it's a dough. Quickly spread the batter in a circular motion if you're working with a very wet dough, but for typical tortillas, you'll be placing the rolled-out dough directly.
- Keep Warm: As each tortilla cooks, stack them in a clean kitchen towel or tortilla warmer to keep them soft and warm until serving.
Expert Tips for Soft Shells:
- The warmth of the water is key to activating the gluten and creating a pliable dough.
- Don't skip the resting step; it makes the dough much easier to roll and results in a more tender tortilla.
- A hot, dry skillet is essential for the tortillas to puff up correctly.
Beyond the Basics: Creative Taco Shell Ideas
Once you've mastered the fundamental techniques for making homemade taco shells, the possibilities are endless. Find out how to make crispy hard shells and soft tortillas from scratch, and get creative ideas for customizing them:
- Flavor Infusion: For hard shells, try sprinkling chili powder, garlic powder, or smoked paprika onto the tortillas before baking or frying for an extra layer of flavor. For soft shells, a pinch of cumin or a dash of finely chopped cilantro can be kneaded into the dough.
- Different Shapes: Beyond the classic folded shell, you can make taco bowls using the oven method with a cupcake pan. These are perfect for salads or larger, heartier fillings. You can also cut smaller circles for mini taco bites.
- Gluten-Free Options: While corn tortillas are naturally gluten-free, you can also experiment with alternative flours for soft shells, such as a gluten-free all-purpose blend or masa harina for a more authentic corn tortilla.
- Sweet Taco Shells: For a dessert twist, lightly sprinkle hard shells with cinnamon sugar after cooking. Fill them with fruit, whipped cream, or ice cream for a unique sweet treat.
Troubleshooting Common Taco Shell Woes
Even with the best instructions, sometimes things don't go as planned. Here are common issues and how to fix them:
- Soggy Hard Shells: This usually means the oil wasn't hot enough, or they weren't drained properly. Ensure oil is at the correct temperature and let them drain thoroughly on paper towels.
- Brittle Hard Shells: Overcooking is the culprit here. Reduce baking or frying time. Also, ensure your tortillas are not too thin before cooking.
- Uneven Cooking (Hard Shells): If baking, ensure your oven rack setup allows for even air circulation. If frying, make sure the oil level is consistent.
- Sticking (Soft Shells): Your skillet might not be hot enough, or it might need to be seasoned better. Ensure it's dry and preheated properly.
- Stiff Soft Shells: This often means the dough wasn't kneaded enough, rested enough, or cooked too long. Ensure proper kneading, sufficient resting time, and cook only until light brown spots appear.
The Unbeatable Taste of Homemade
Why go through the effort of making your own taco shells when you can buy them pre-made? The answer lies in the unparalleled quality. Homemade shells offer a superior texture, a crispiness that snaps with each bite, and a freshness that store-bought versions simply cannot replicate. They’re so much better (and healthier!) than store-bought options, as you control the ingredients and the cooking process, avoiding unnecessary preservatives and additives.
With this simple recipe, you can create crispy, delicate shells that are perfect for filling with your favorite ingredients. Imagine the aroma of freshly fried corn tortillas or the warm, comforting scent of just-cooked flour tortillas filling your kitchen. This is an experience that transcends mere eating; it's about crafting a meal that is truly your own, from the ground up. Make it a taco night and fill these taco shells with ground beef taco meat or shredded chicken taco and all your favorite taco fillings and toppings. The crunchy taco shells taste great with all of your favorite taco toppings!
In this roundup below, you can explore through 15 exciting and scrumptious recipes of whipping up various taco fillings that perfectly complement your homemade shells. As one enthusiast perfectly put it, “The hard shell tacos here are the bomb, They are super simple but soooooo good.” This sentiment perfectly encapsulates the joy of homemade tacos.
Conclusion: Your Taco Journey Begins
Embarking on the journey of making your own taco shells is a rewarding endeavor that promises to elevate your taco nights to new heights. From the satisfying crunch of a perfectly fried corn shell to the tender embrace of a warm, pliable flour tortilla, the difference homemade makes is truly remarkable. We've explored various methods, from the classic skillet fry and the healthier oven bake to the efficient air fryer, ensuring there's a technique for every kitchen and every preference.
Remember, the beauty of homemade lies in the control you have over ingredients and the fresh, superior taste you achieve. So, gather your ingredients, choose your preferred method, and get ready to create taco shells that will be the talk of your next gathering. Don't be afraid to experiment with flavors and fillings; the world of tacos is vast and delicious. We encourage you to try these methods and share your experiences! What's your favorite way to make taco shells, and what fillings do you love most? Share your thoughts and tips in the comments below, and let's continue to celebrate the incredible versatility of the humble taco.
Related Resources:

Detail Author:
- Name : Celestino Dach
- Username : kgislason
- Email : hassan19@yahoo.com
- Birthdate : 2001-08-02
- Address : 95136 Augusta Passage Stromanville, NV 49509-3179
- Phone : 804.945.0021
- Company : Robel-Spencer
- Job : Actor
- Bio : Et omnis id accusantium natus. Illum neque amet sunt. Ullam reprehenderit quo asperiores distinctio. Eveniet earum numquam velit rerum aspernatur rerum hic numquam.
Socials
facebook:
- url : https://facebook.com/jamil8501
- username : jamil8501
- bio : Ea architecto quidem ratione dolores.
- followers : 1478
- following : 1830
instagram:
- url : https://instagram.com/jamil.fay
- username : jamil.fay
- bio : Nostrum sint aut reiciendis est ea omnis maxime deserunt. Aut eligendi deleniti mollitia porro.
- followers : 4613
- following : 2234
tiktok:
- url : https://tiktok.com/@jamil_fay
- username : jamil_fay
- bio : Ab sint placeat aut delectus sunt.
- followers : 180
- following : 621
twitter:
- url : https://twitter.com/jfay
- username : jfay
- bio : Voluptatem sequi laboriosam officia cupiditate. Magni nobis dolorem fuga aspernatur eum modi non.
- followers : 4719
- following : 341
